strawberry balsamic pie

6.14.13 004

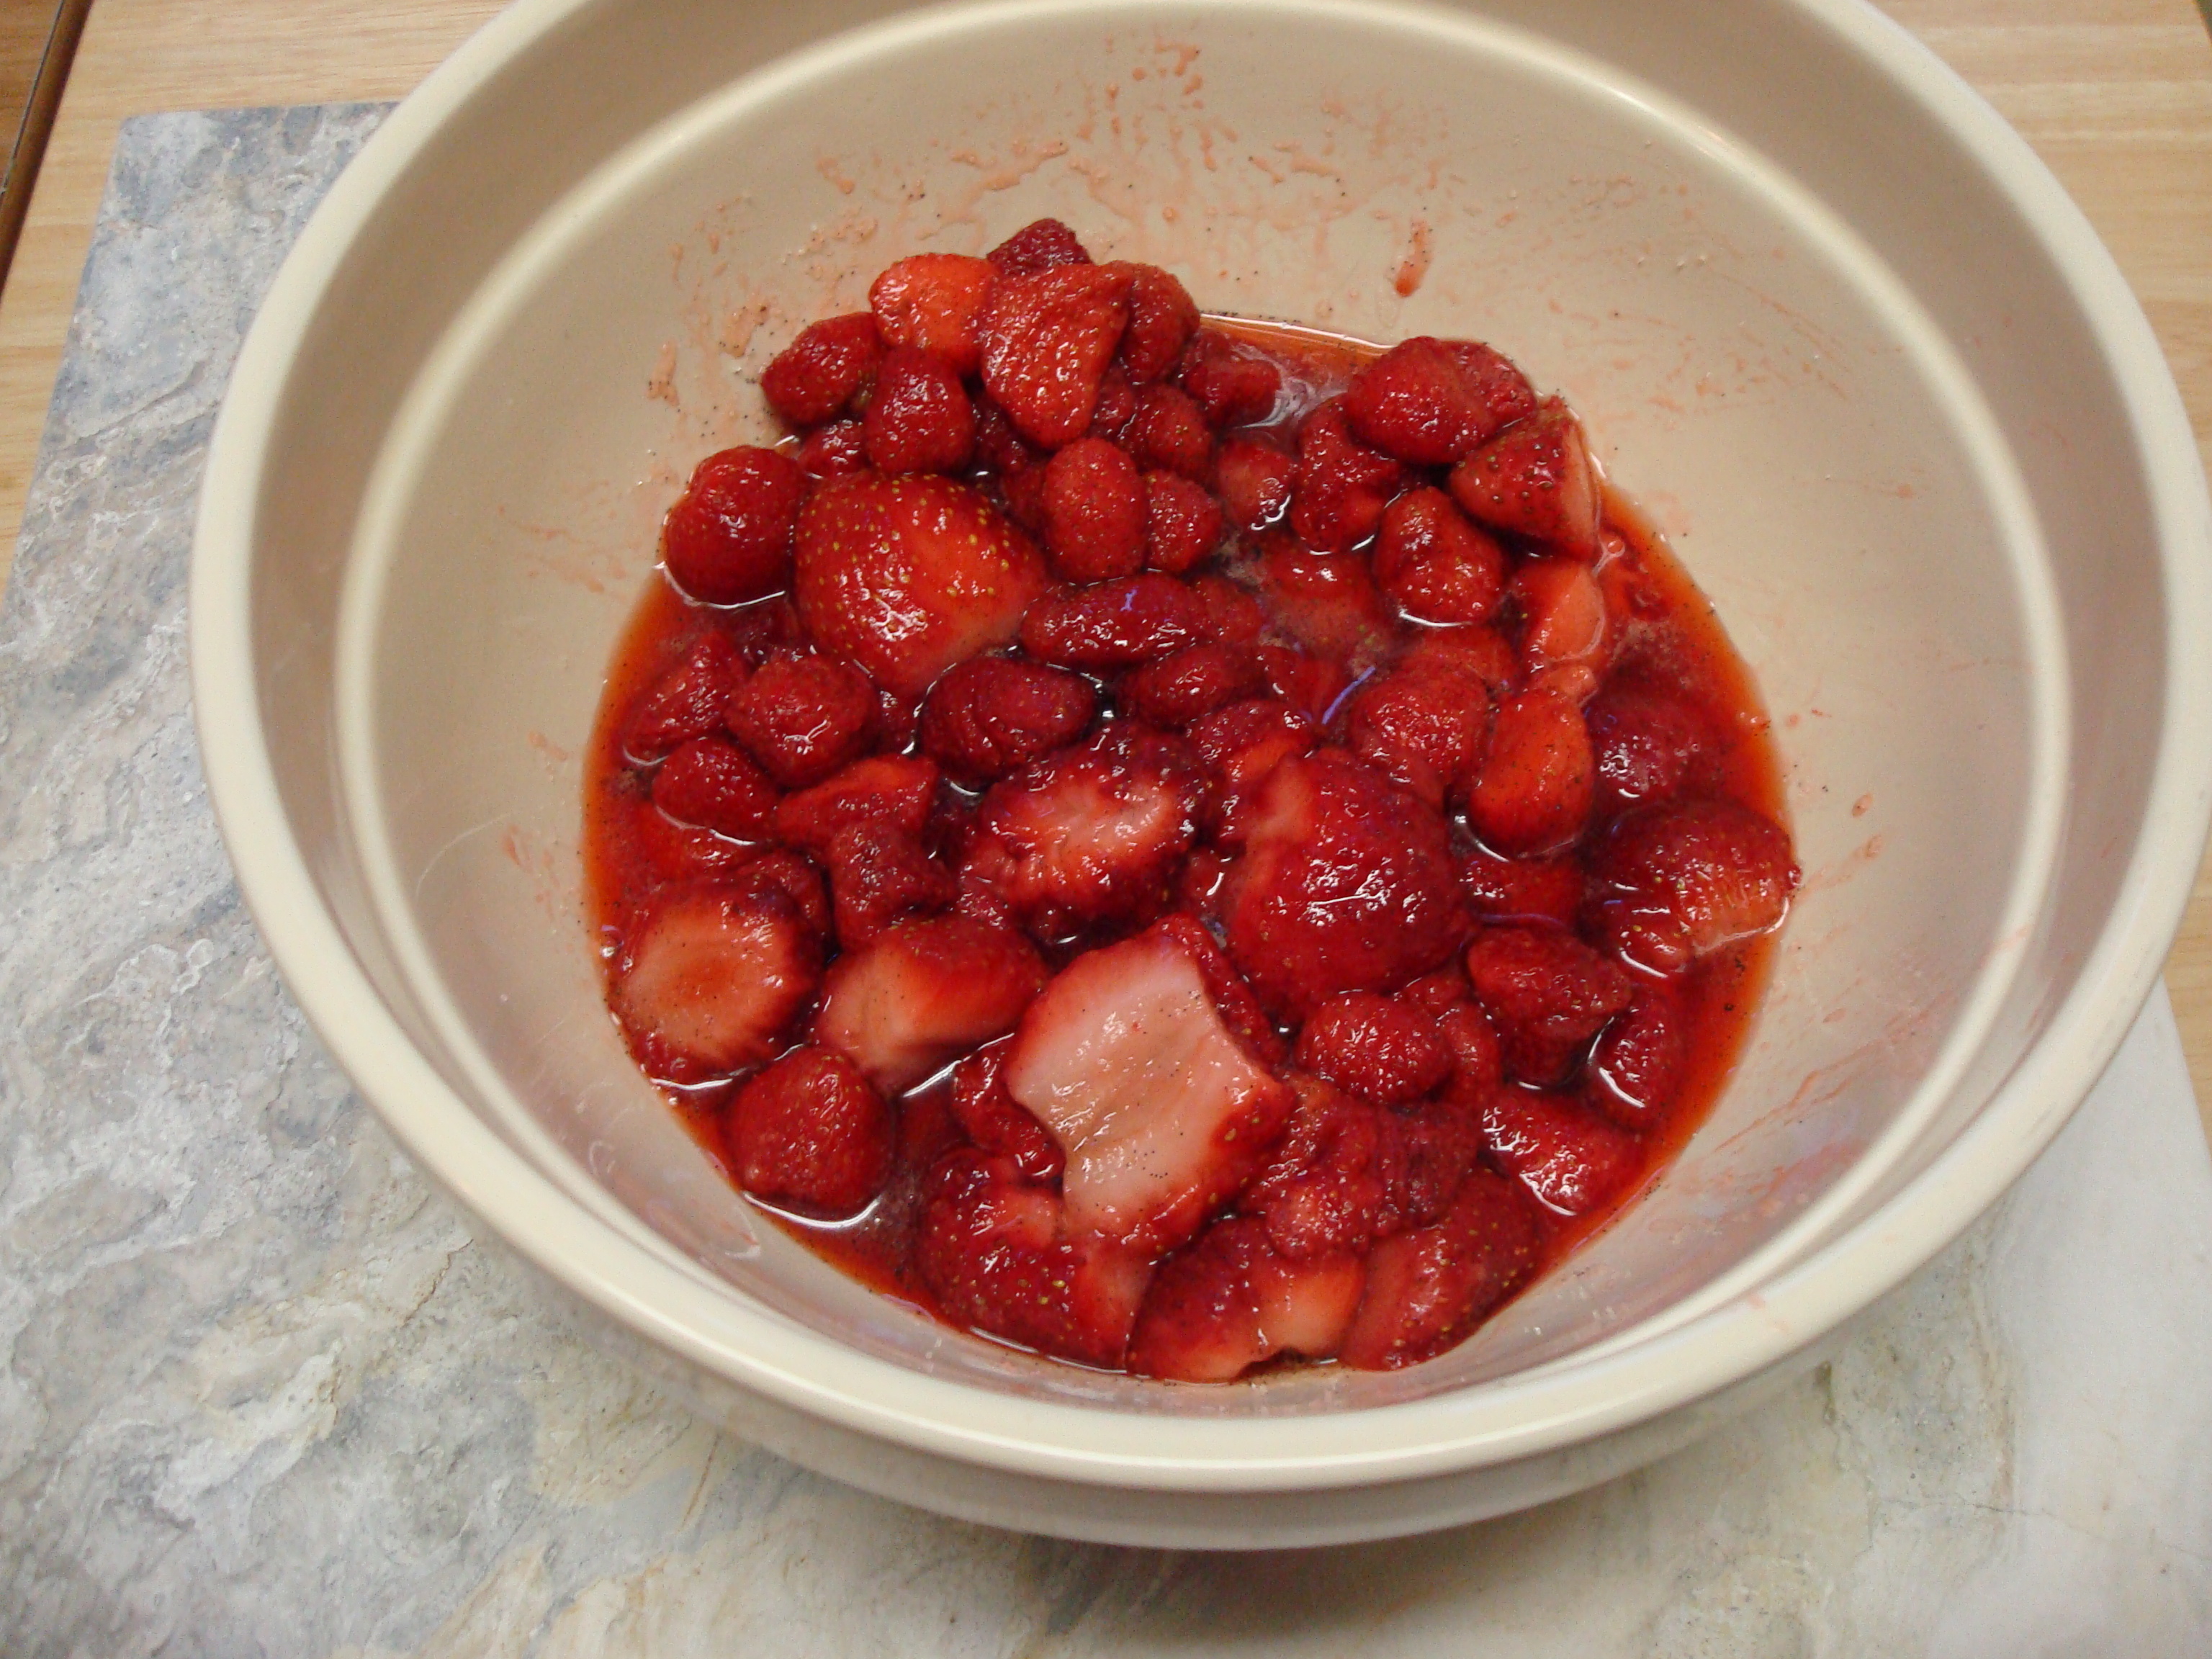
I know it’s not quite strawberry season yet, but after the long winter we’ve been experiencing I was in need of a little summer.  Fortunately for me, I still had two bags full of strawberries that I picked last summer in my freezer.  Once I opened up the bag of strawberries– I kid you not, it smelled like summer.  There’s just something about freshly picked berries that are so much more fragrant (even after 8 months in the freezer, apparently) than the fresh strawberries at the supermarket this time of year.  Heavenly.

3.21.14 028

Also very fortunately for me, for Christmas I received an awesome pie cookbook by the Four & Twenty Blackbird sisters and wanted to try a recipe from it.

3.21.14 029

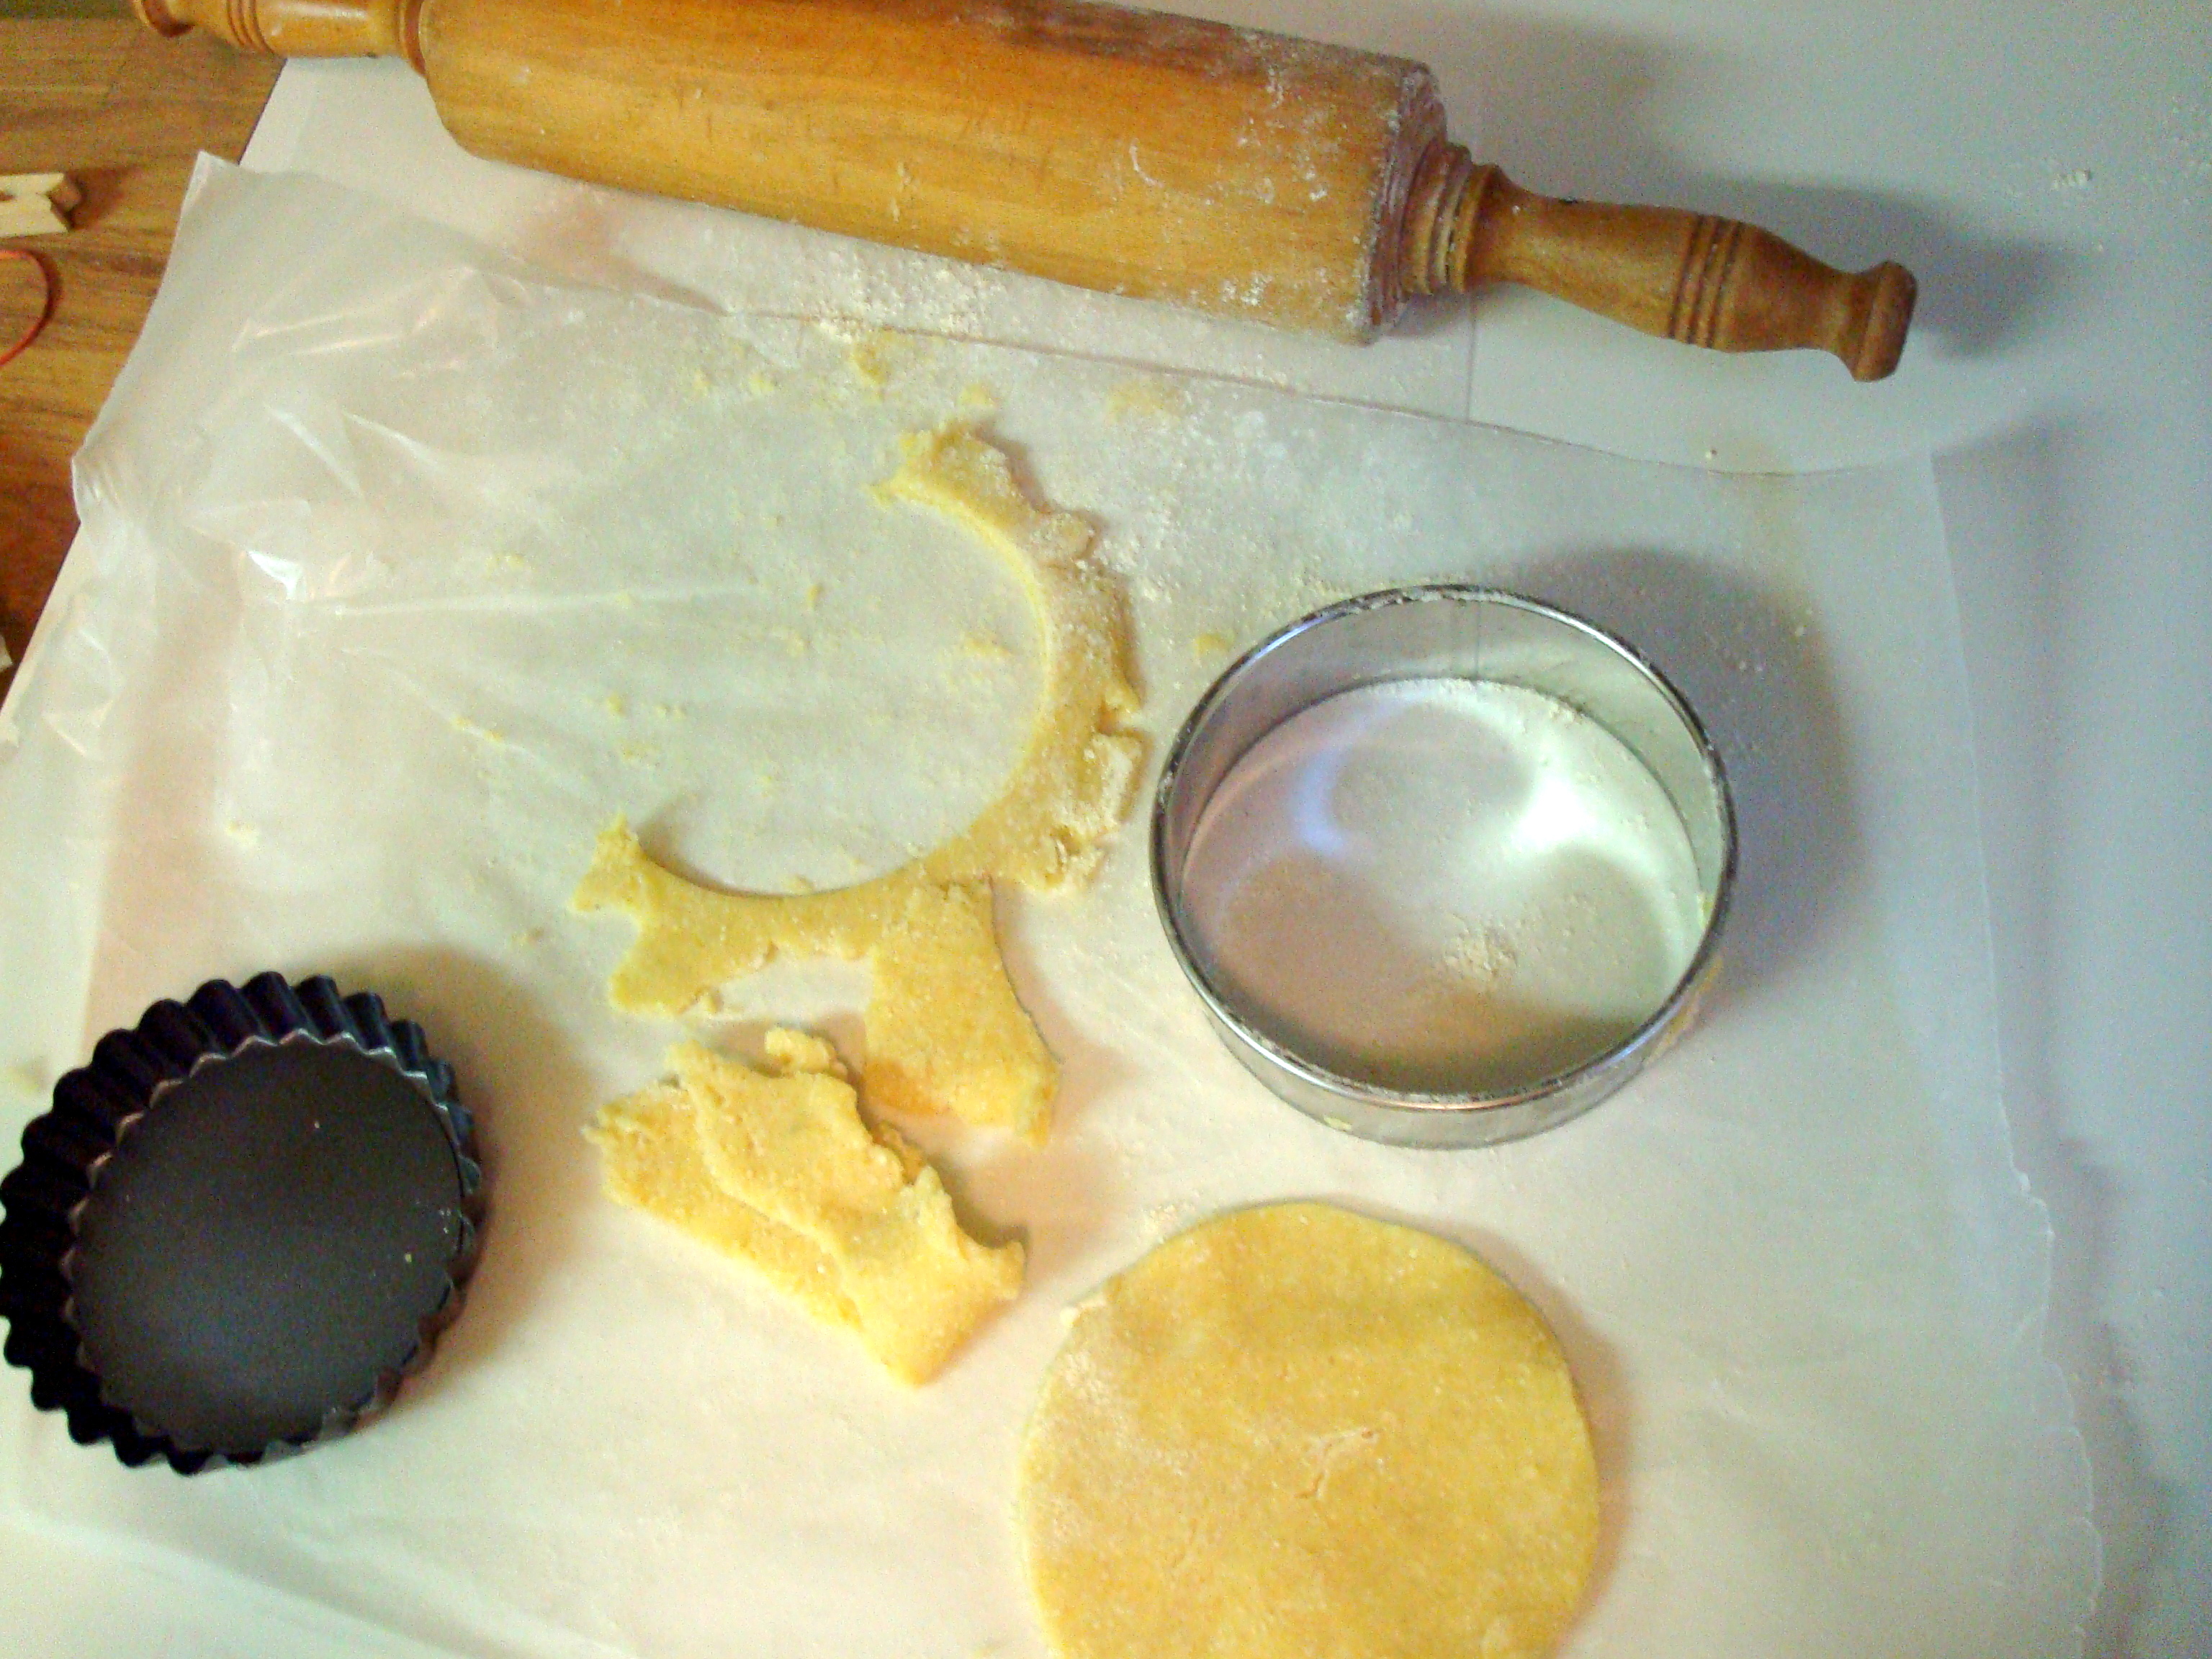
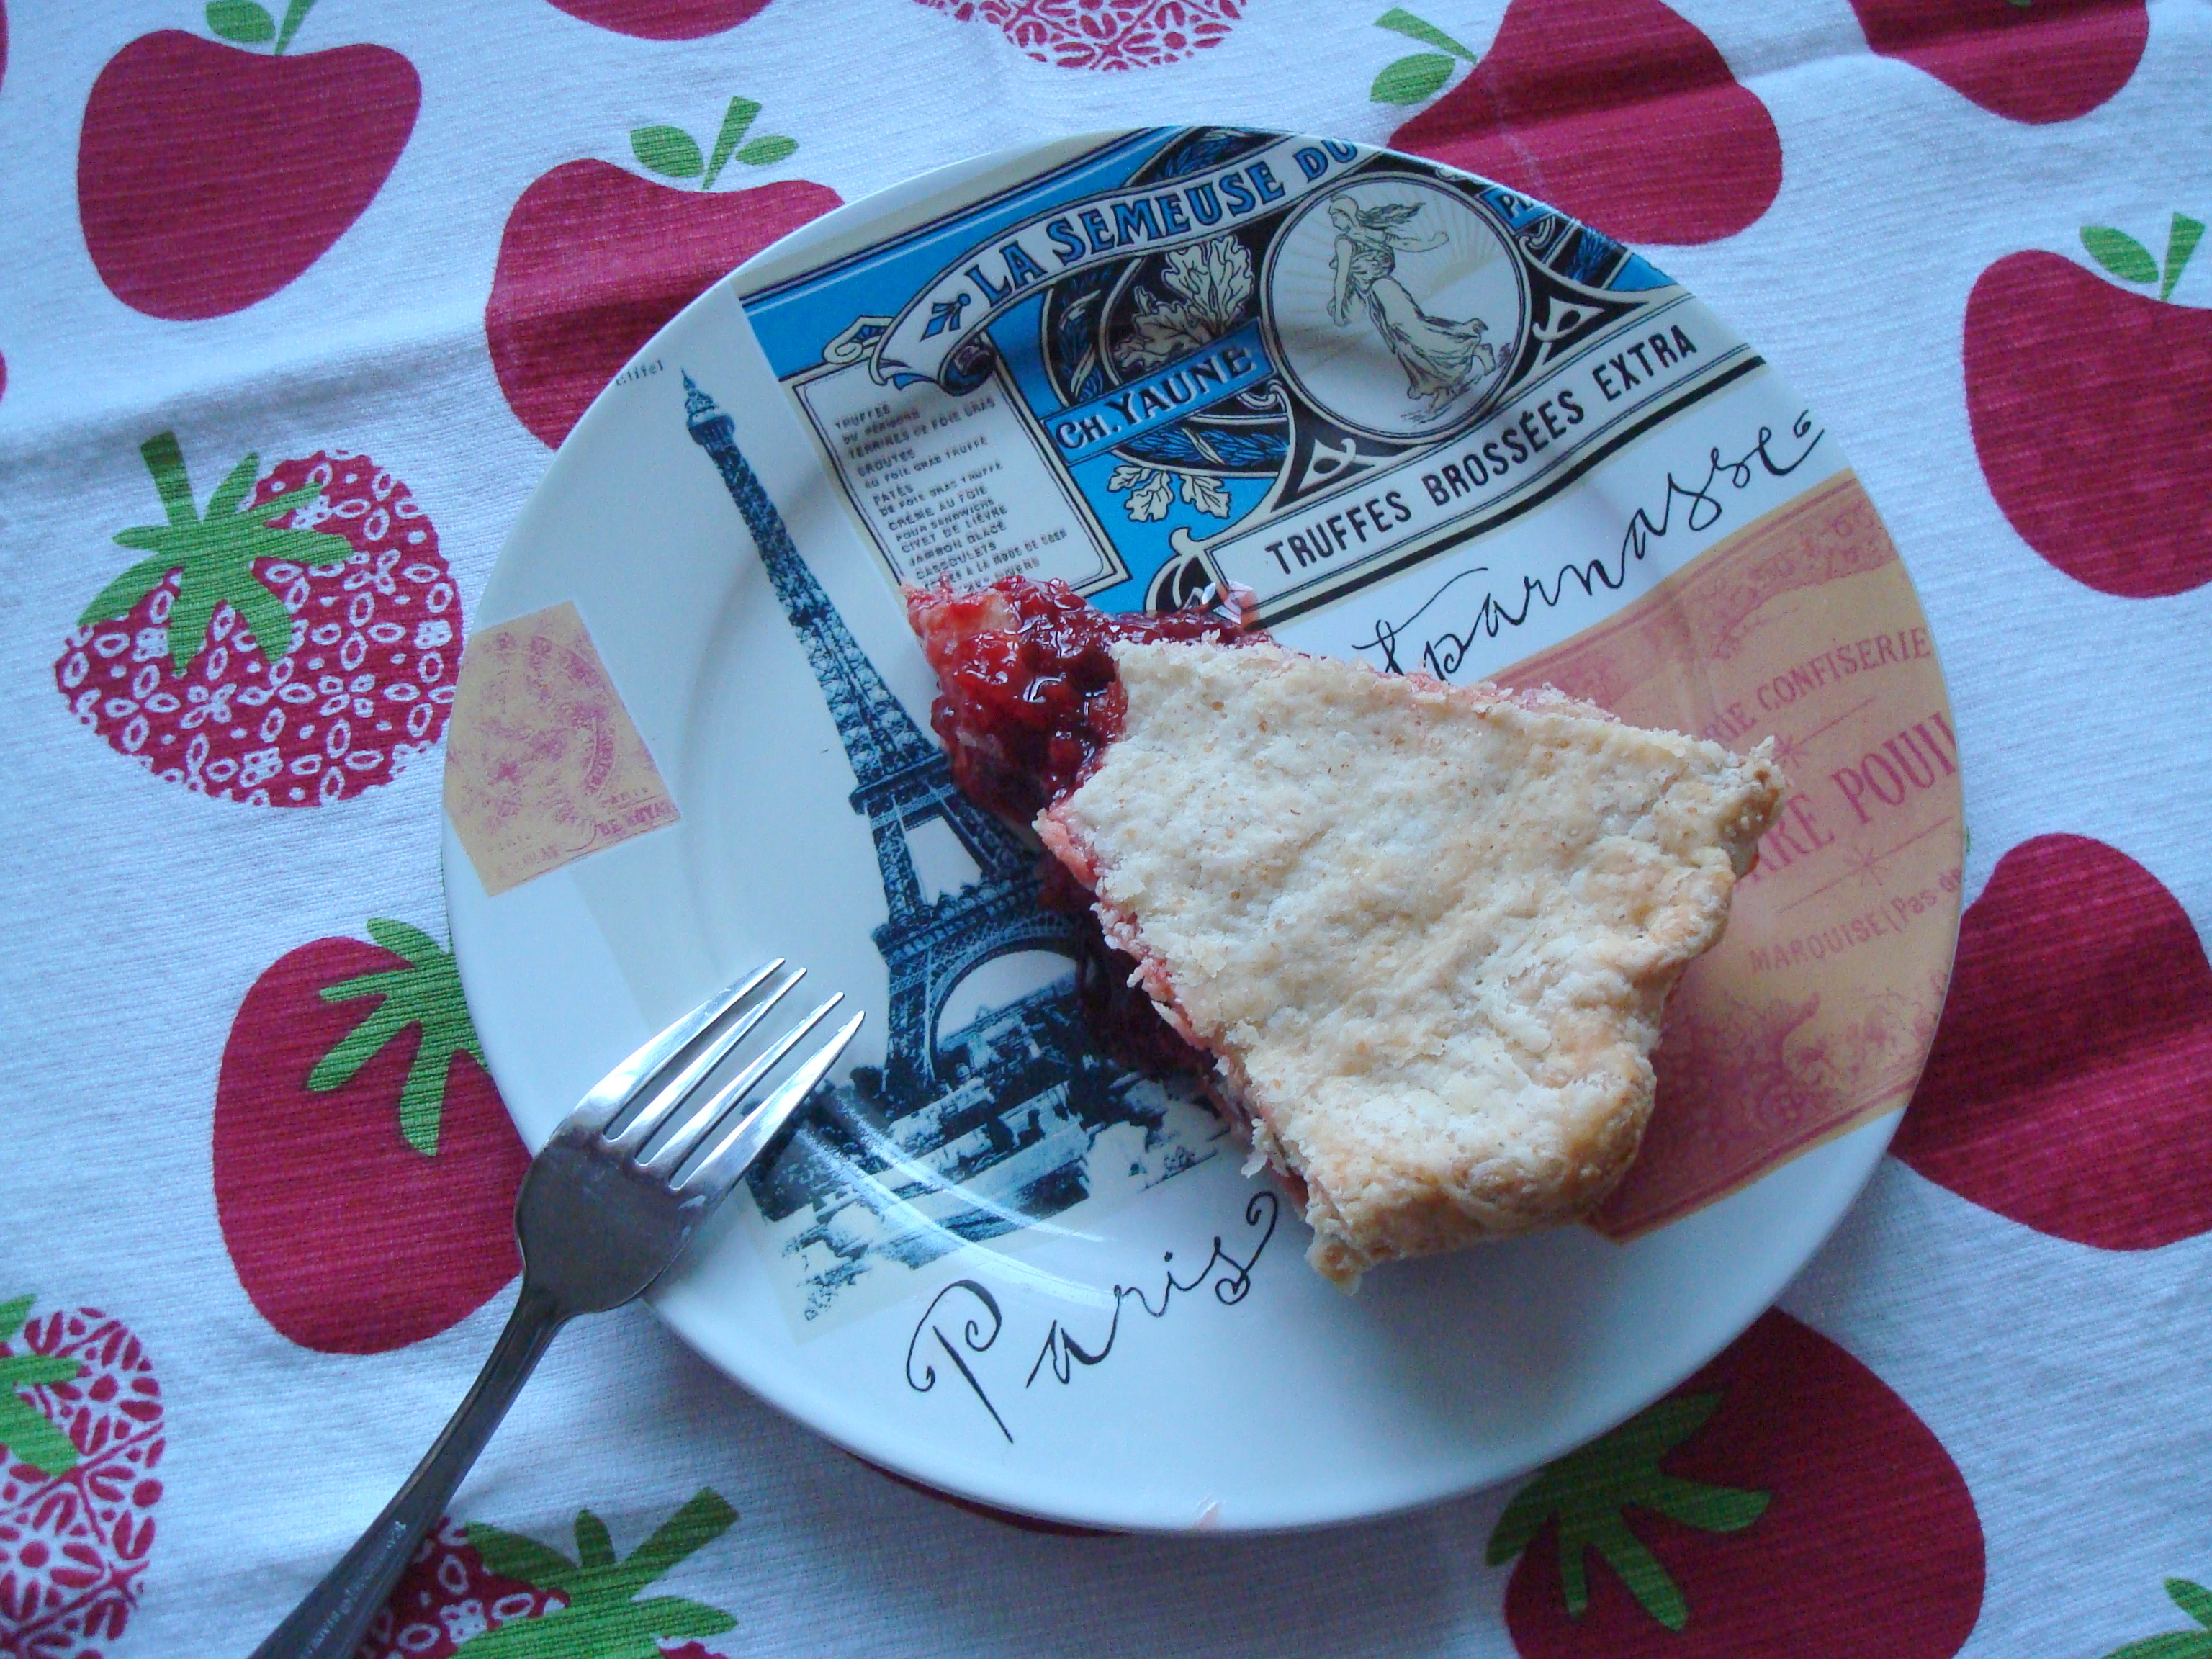
As with any pie, you start with the crust.  Their all-butter pie crust recipe was slightly different from other crusts I’ve made as it called for a little cider vinegar to be incorporated along with the ice water which intrigued me.  It added a nice little tang to the crust, though once baked was not super noticeable.

3.21.14 031

In addition to the main event of strawberries, the recipe called for a baking apple to be grated into the filling.  I am guessing this might be to help thicken it up, since the berries break down to a liquid, and once baked I really didn’t pick up on the apple flavor so the trick worked.

3.21.14 033

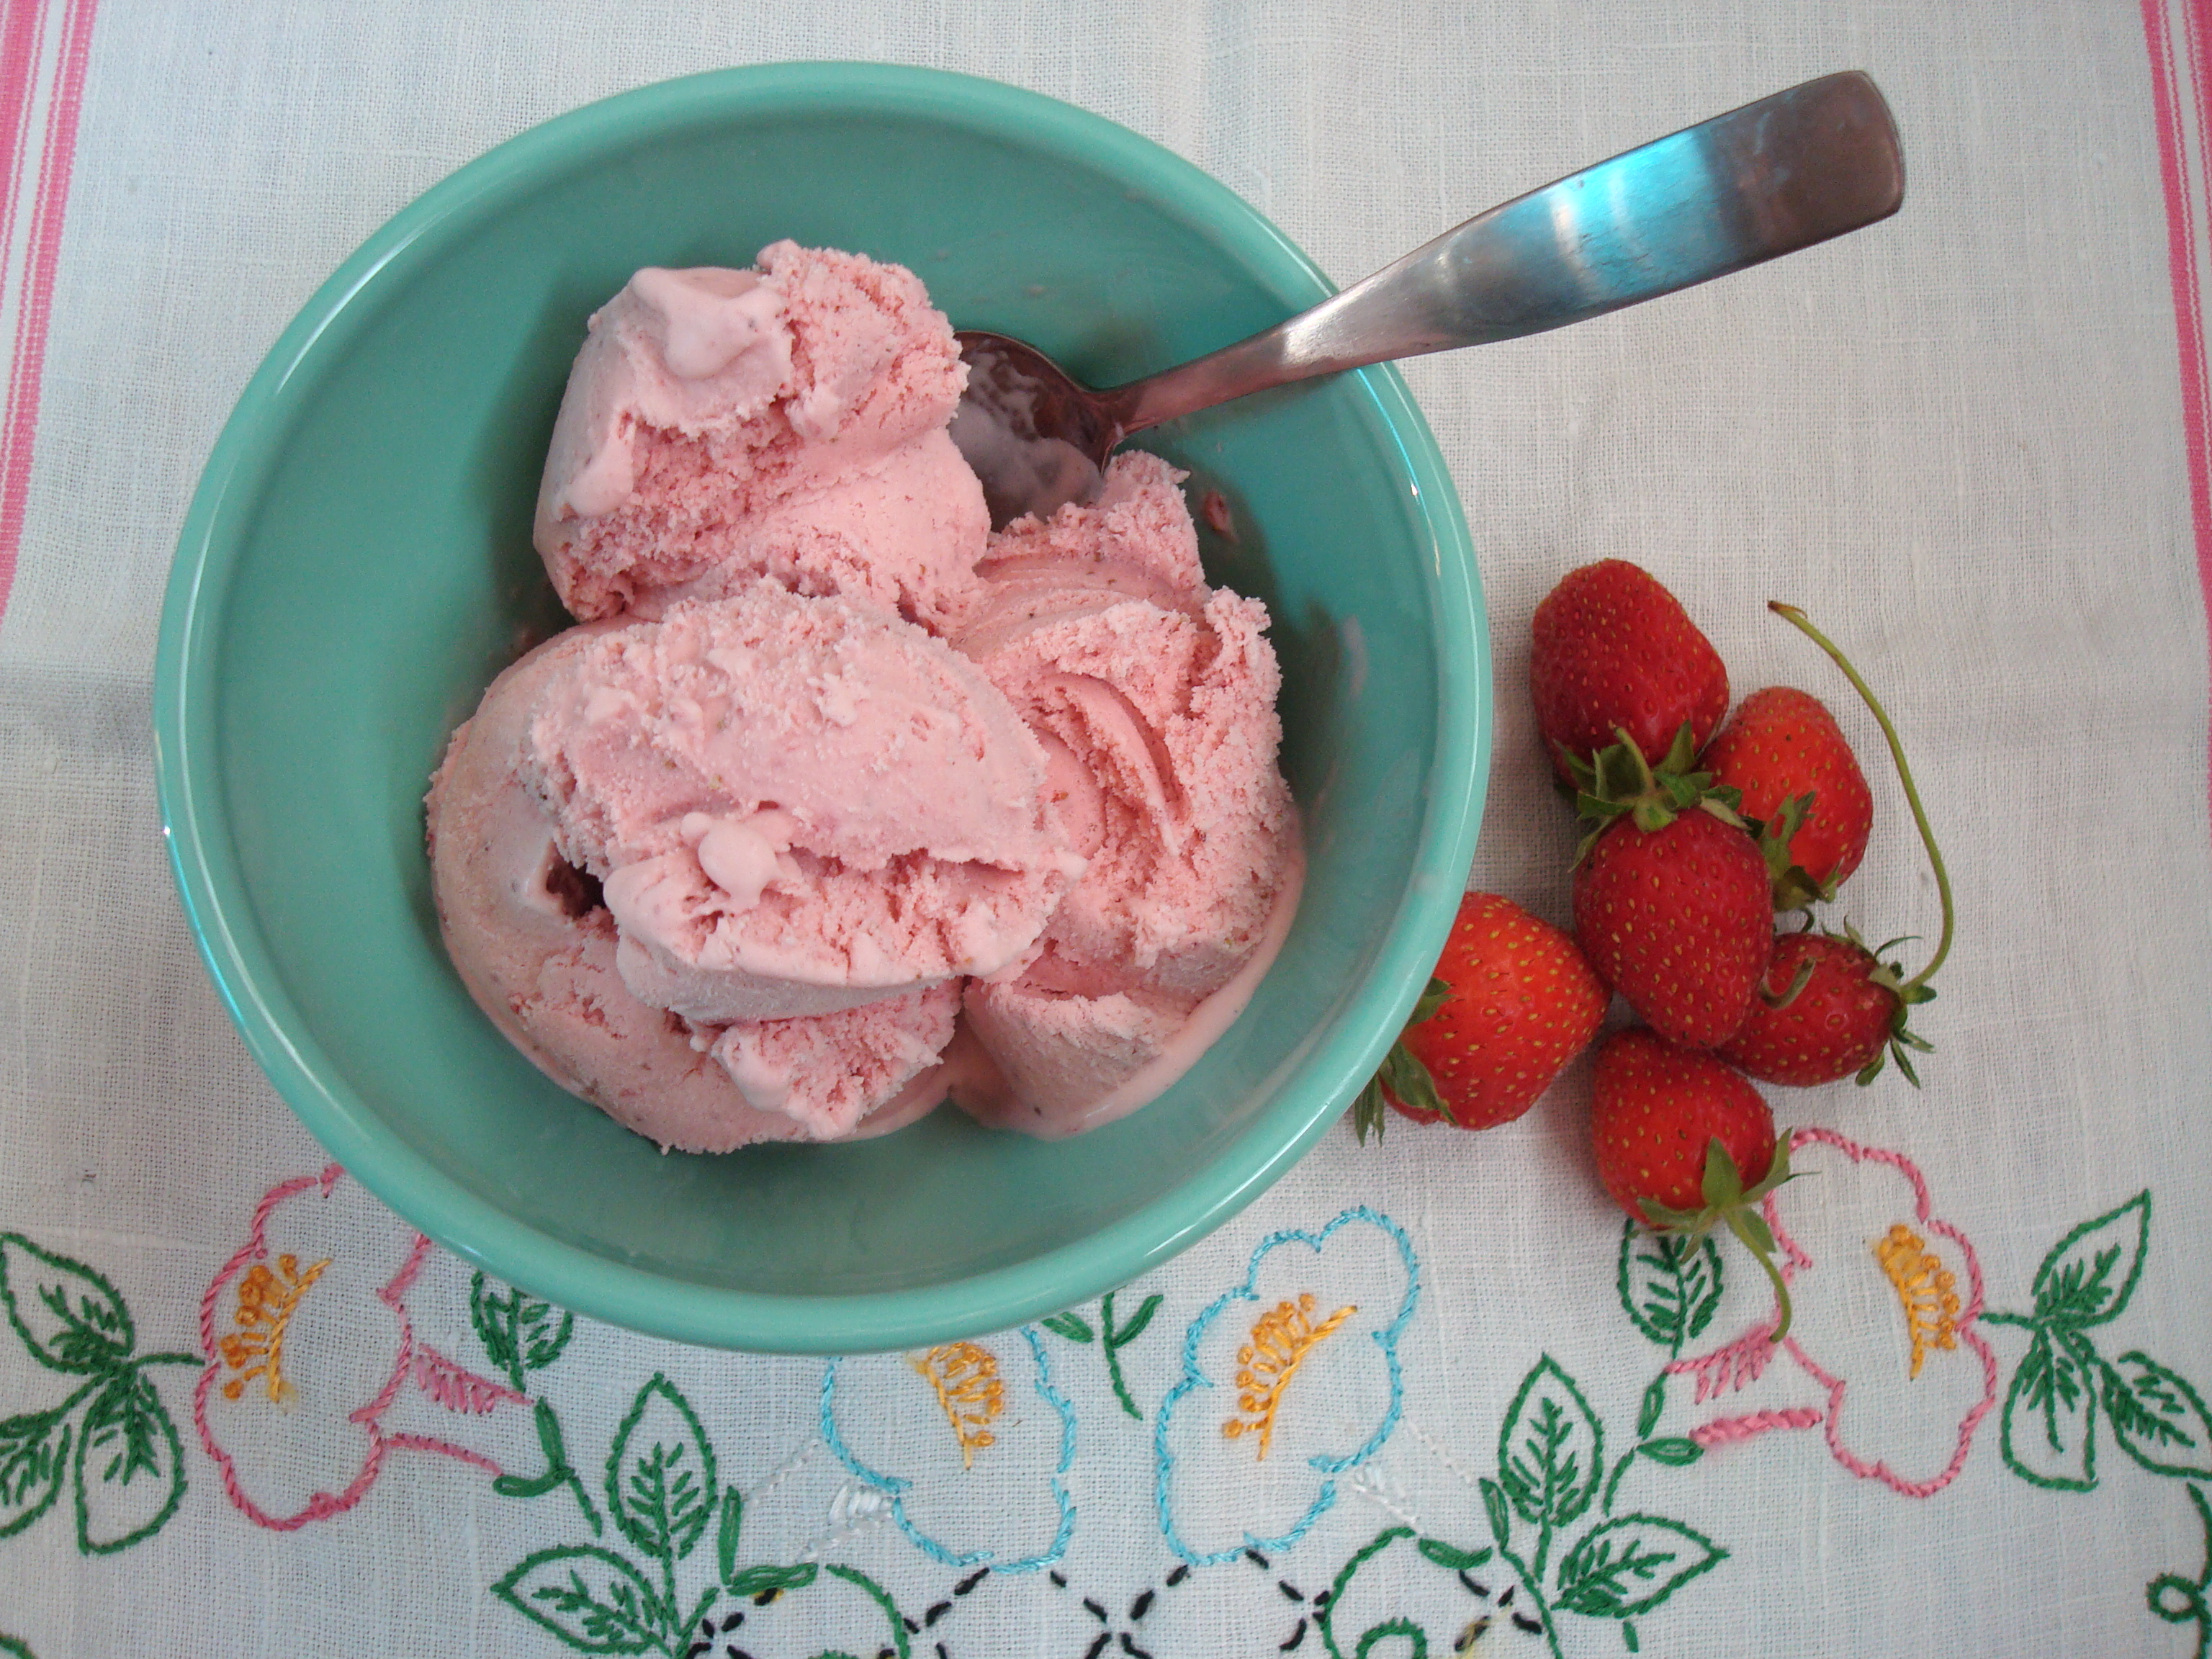
Into the filling the recipe also called for balsamic vinegar, which is what intrigued me about the recipe since I liked the combination of strawberries and balsamic so much last summer when I made them into ice cream; the recipe also called for a few dashes of Angostura bitters to be added as well.  The authors say they think bitters add a little something to the pie, and though I can’t put into words exactly what that is, I would have to agree.

3.21.14 035

Just look how summer-y the filling looks before getting a top put on it!  You can almost feel the warm sun.

3.21.14 037

The recipe recommended a lattice crust, but I was short on time so just did a standard top crust (or “ceiling,” as a friend of mine calls it) and carved an “S” for strawberry into it for venting.

3.21.14 043

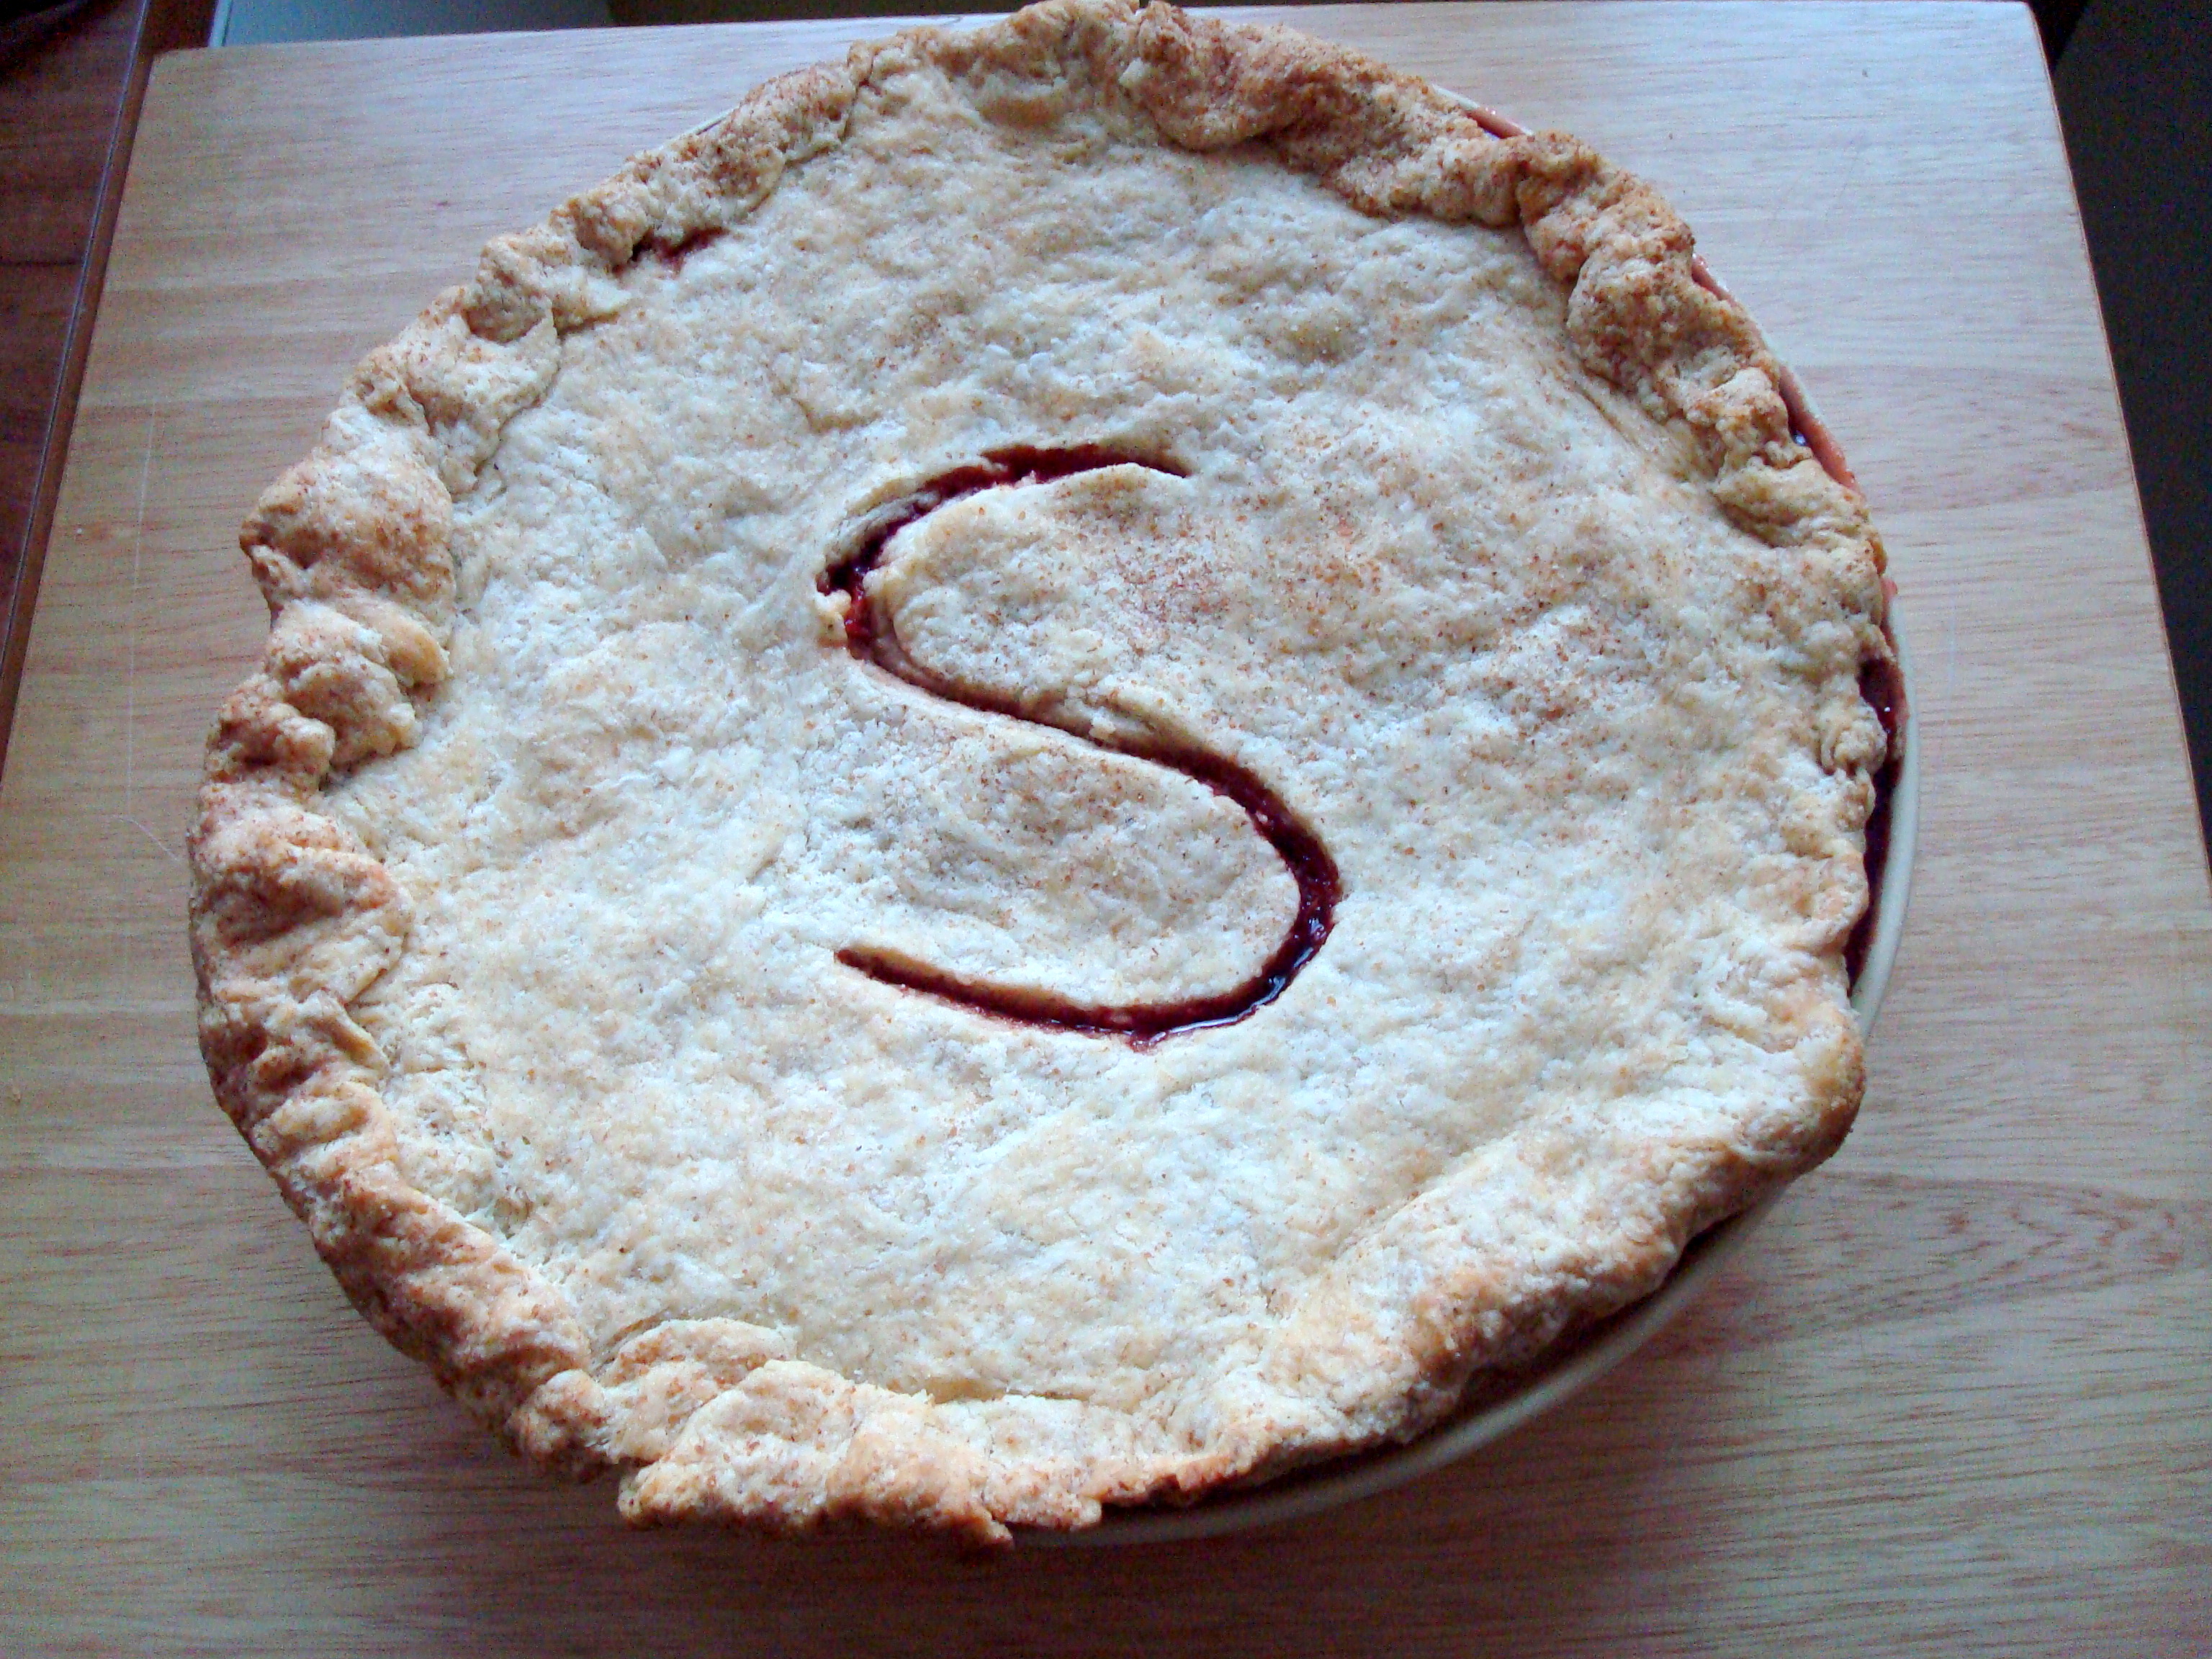
This pie was so good.  I brought it into work to share and it got rave reviews.  I highly recommend making it if you too are wanting to bring a little summer into your world right about now.  If you close your eyes while eating it you can almost feel warm sun on your face, I swear.

3.21.14 044

Strawberry Balsamic Pie (adapted slightly from “The Four & Twenty Blackbirds Pie Book” by Emily Elsen & Melissa Elsen)

  • All- Butter Crust for a 9-inch double-crust pie (see recipe below)
  • 1/4 cup plus 3 tablespoons granulated sugar
  • 2 pounds fresh strawberries, rinsed and quartered (5 to 6 cups) NOTE: I used frozen strawberries and it turned out just fine
  • 1 small baking apple (such as Norther Spy or Golden Delicious)
  • 2 tablespoons balsamic vinegar
  • 2 dashes Angostura bitters
  • 3/4 cup packed light brown sugar
  • 3 tablespoons ground arrowroot
  • 2 grinds fresh black pepper, fine setting
  • 1/2 teaspoon kosher salt

Have ready and refrigerated one pastry-lined 9-inch pie pan and pastry round or lattice to top.

Sprinkle 3 tablespoons of the granulated sugar over the strawberries.  Stir gently to combine and allow the fruit to macerate at room temperature for 30 minutes to 1 hour.

Peel the apple and shred on the large holes of a box grater.  Drain the strawberries of excess liquid and combine with the shredded apple.  Sprinkle on the balsamic vinegar and Angostura bitters.

In a separate bowl, mix together the remaining 1/4 cup granulated sugar, brown sugar, arrowroot, black pepper, and salt.  Gently fold the sugar mixture into the strawberry mixture.  Pour the filling into the refrigerated pie shell, arrange the lattice or pastry round on top, and crimp as desired.

Chill the pie in the refrigerator for 10 to 15 minutes to set the pastry.

Meanwhile, position the oven racks at the bottom and center positions, place a rimmed baking sheet on the bottom rack, and preheat the oven to 425 degrees F.

Place the pie on the rimmed baking sheet on the lowest rack of the oven.  Bake for 20 to 25 minutes, or until the pastry is set and beginning to brown.  Lower the oven temperature to 375 degrees F, move the pie to the center oven rack, and continue to bake until the pastry is a deep golden brown and the juices are bubbling throughout, 35 to 40 minutes longer.

Allow to cool completely on a wire rack, 2 to 3 hours.  Serve slightly warm or at room temperature.

The pie will keep refrigerated for 3 days or at rom temperature for 2 days.

All Butter Crust for Double Crust Pie (from “The Four & Twenty Blackbirds Pie Book” by Emily Elsen & Melissa Elsen)

  • 2 1/2 cups unbleached all-purpose flour
  • 1 teaspoon kosher salt
  • 1 tablespoon granulated sugar
  • 1/2 pound (2 sticks) cold unsalted butter, cut into 1/2-inch pieces
  • 1 cup cold water
  • 1/4 cup cider vinegar
  • 1 cup ice

Stir the flour, salt, and sugar together in a large bowl.  Add the butter pieces and coat with the flour mixture using a bench scraper or spatula.  With a pastry blender, cut the butter into the flour mixture, working quickly until mostly pea-sized pieces of butter remain (a few larger pieces are okay; be careful not to overblend.)

Combine the water, cider vinegar, and ice in a large measuring cup or small bowl.  Sprinkle 2 tablespoons of the ice water mixture over the flour mixture, and mix and cut it in with a bench scraper or spatula until it is fully incorporated.  Add more of the ice water mixture, 1 to 2 tablespoons at a time, using the bench scraper or your hands or both) to mix until the dough comes together in a ball, with some dry bits remaining.  Squeeze and pinch with your fingertips to bring all the dough together, sprinkling dry bits with more small drops of the ice water mixture, if necessary, to combine.  Divide the dough in half and shape the dough into flat discs, wrap in plastic, and refrigerate for at least 1 hour, preferably overnight, to give the crust time to mellow.

Wrapped tightly, the dough can be refrigerated for 3 days or frozen for 1 month.

strawberry tartlets

Sadly, strawberry season is over in these parts, though fortunately I picked enough strawberries a few weekends ago that I will have plenty to bake with in the coming months.  Thank goodness for freezers!

strawberries

Months ago I purchase some adorable little tartlet pans but had not yet used them for anything so I decided to amend the situation this past weekend.  I also have been meaning to experiment more with gluten-free baking since it intrigues me and I have many gluten-free flours in my pantry, so when I found a pate sucre (sweet crust) recipe from my La Tartine Gourmande cookbook I was inspired to marry it with some freshly picked strawberries in said tartlet pans.

6.30.13 073

 The recipe called for sweet white rice flour which I have plenty of but also quinoa flour which I did not have.  I found it in a local health food store but it was crazy expensive but since I always have actual quinoa in my pantry I decided to go DIY and grind it into flour myself.  Many websites advised toasting the quinoa before grinding it into flour I ignored that and just ground it down using my coffee grinder.  I was a bit nervous how it would turn out because quinoa can sometimes be a little bitter but in this particular recipe there was enough else going on (namely confectioners’ sugar) that it turned out fine.  Next time I may try to toast the quinoa before grinding, however, and I will let you know if it’s worth it or not.

6.30.13 078

This dough had to be refrigerated for a few hours and then brought to room temperature before being rolled out.  Upon rolling the dough out I used a biscuit cutter to get it into shapes that fit neatly into the tartlet pans but neatness is definitely not required here.  You could pat the dough into the pans in any manner you choose and it will still turn out fine, I was just being fancy.  I pre-baked the tartlet crusts so put parchment paper into each tartlet pan and then weighted that with dried beans.  Apparently you can buy pie weights but I don’t see the point since dried beans or rice work just as well and I always have them on hand.  (Save them and use them as intended, just let them cool after their stint as pie weights and put them back with the rest of the beans or rice.)

6.30.13 080

I did research for the strawberry filling but wound up shooting from the hip since a lot of what I was finding seemed more complicated than it needed to be.  I wanted to keep it simple with strawberries as the main star.  The one (simple but) slightly fancy thing I did was to use the seeds from half of a vanilla bean pod to scent/flavor the sugar I used to macerate the strawberries.  It’s so easy to do but makes the dish more luxurious.

6.30.13 069

Sprinkle the vanilla-infused sugar on top of sliced strawberries and let the berries macerate for about an hour.

6.30.13 083

Then pour the berries into the pre-baked tartlet shells and bake for about 10 to 15 minutes more in the oven to let the strawberries roast a little bit.

6.30.13 084

The tartlets are best served warm from the oven, and if you wanted to serve them with a little ice cream, whipped cream, or even a dollop of mascarpone cheese I would say that you and I should be friends.

6.30.13 097

Strawberry Tartlets

Pate Sucre (Sweet Crust) (from “La Tartine Gourmande: Recipes for an Inspired Life” by Beatrice Peltre)

  • ½ cup white rice flour
  • 1/3 cup quinoa flour
  • 1/3 cup cornstarch
  • 1 ½ teaspoons xanthan gum
  • 1/3 cup confectioners’ sugar
  • 7 tablespoons unsalted butter, chilled and diced
  • 1 small egg

In the bowl of a stand mixer fitted with the paddle blade, combine the flours, cornstarch, xanthan gum, and confectioners’ sugar.  Work on medium speed to obtain a fine mixture.  Add the butter and work again until crumbles form.  Add the egg and work until the dough detaches from the bowl and forms a ball.  Wrap in plastic wrap and refrigerate for a minimum of 3 hours.  Bring to room temperature before using (about 30 minutes, when the crust doesn’t feel hard).

Using gluten-free dough, generously dust work surface and rolling pin.  Roll out room-temperature dough to circle slightly larger than 10-inch tart pan.  If you are using tartlet pans as I did, the shape of the rolled-out dough doesn’t matter so much as you will be fitting it into smaller pans.  I used a floured biscuit cutter to portion out dough for the tartlet pans but use whatever method you feel is best.

Preheat oven to 350 degrees F.  Once you have rolled out the dough and pressed it into the tart mold(s), cover it with a piece of parchment paper, and top it with pie weights (dry rice or beans work too).  Bake the crust for 10 or 15 minutes, until light brown.

Strawberry Filling:

  • 3 cups washed, hulled, and sliced strawberries
  • 3 tablespoons sugar
  • ½ vanilla bean pod

Slice vanilla bean pod in half and set half away for use at a later time.  Scrape the seeds out of the half you are using into a small bowl.  Pour sugar into the same bowl and use clean fingers to rub the vanilla seeds into the sugar.

Place sliced strawberries into medium-sized bowl.  Sprinkle vanilla sugar mixture over the top and let berries macerate for about an hour.

After berries have macerated, pour into pre-baked tart shells and bake for an additional 10 to 15 minutes in preheated 350 degree F oven.  Enjoy tartlets warm with a dollop of ice cream, whip cream, or mascarpone cheese.

strawberry ice cream

I went strawberry picking!  It was humid and sticky and then I got rained on in the midst of it, but I managed to pick 6 pounds of beautiful berries two Sundays ago.

6.14.13 004

It’s so nice to see strawberries that are the shape and size strawberries are supposed to be, not those giant things you sometimes find in the grocery store.  I’m going to make it my mission to pick as much fresh fruit in-season this summer as I possibly can.  Next up: raspberries.  But until then, here is THE BEST strawberry ice cream recipe I have ever tasted.

6.14.13 021

I’ve been on an ice-cream-making kick lately so it didn’t take me long to decide what I wanted to do with some of the berries when I got home.  This recipe from the Humphry Slocombe guys is especially easy as it does not involved egg yolks and therefore does not need to be cooked over the stove to thicken the batter before mixing in your ice cream mixer.  You simply puree up some strawberries and then mix the puree with heavy cream, sweetened condense milk, a little sugar, a little salt, and a touch of balsamic vinegar.  (Trust me, it works.)

6.14.13 011

It makes the creamiest ice cream you ever did have.  If you don’t have an ice cream maker, I highly suggest you run out to purchase one right now and then make this the first thing you create in it.  So simple and so delicious.

6.14.13 031

Here’s Your Damn Strawberry Ice Cream (adapted slightly from “Humphry Slocombe Ice Cream Book” by Jake Godby, Sean Vahey, and Paolo Lucchesi)

  • 1 pint fresh ripe strawberries, hulled and halved
  • 2 cups heavy cream
  • 1/2 cup sweetened condensed milk
  • 1/3 cup sugar
  • 2 teaspoons salt
  • 1 tablespoon balsamic vinegar

Put the strawberries in a blender and process to a smooth puree.  Strain through a fine-mesh strainer to remove the seeds or leave unstrained (I did not strain).  Transfer the strawberry puree to a large bowl; add the cream, sweetened condensed milk, sugar, salt, and vinegar; and whisk it all together until the sugar is dissolved.

Transfer the mixture to an ice cream maker and spin according to the manufacturer’s instructions.  Eat immediately, or transfer to an airtight container, cover, and freeze for up to 1 week.

4th of July: Strawberry Buttermilk Ice Cream

It has been way too hot to bake lately and I haven’t been doing a whole lot of cooking either.  Trying to conserve energy– both my own and that of the electricity in my apartment.  I don’t have central air and my little window unit only does the trick for about a third of the apartment and the kitchen is not in that third.  No matter.  I decided it was a good excuse to buy myself a new ice cream maker (as if one needs a good excuse!).  The freezer bowl on my old one started leaking blue fluid everywhere which I’m guessing is not a good thing at all.  It had to go.

I bought some lovely strawberries at the market last weekend and they looked and smelled like strawberries ought to and while I generally think that ice cream should always involve chocolate in one form or another I have occasionally been known to choose strawberry as an alternative flavor.  It just sounded refreshing in this heat.

And man was that a wise decision.  I could have slurped up the batter when it was more like a thick strawberry milk and skipped the freezing step where it turned into ice cream.  It’s that good.  The addition of buttermilk really melds nicely with the strawberries– makes it  little richer.

I hope everyone enjoys their July 4th and manages to avoid the heat!  It’s going to be a sticky one today…

Strawberry Buttermilk Ice Cream

  • 3 cups strawberries, cleaned, stemmed, and sliced
  • 1 ¼ cups sugar
  • 2 tablespoons lemon juice
  • 2 cups whole milk
  • 5 large egg yolks
  • 1 cup heavy cream
  • ¼ cup buttermilk
  • 1 teaspoon vanilla

In a small bowl combine the strawberries, ½ cup of sugar, and lemon juice.  Stir gently and then set aside for 30 minutes to 2 hours to let berries macerate.  Strain the berries, reserving juices.  Mash or puree half the berries.

Meanwhile, combine egg yolks and remaining ¾ cup of sugar in the bowl of an electric mixer. Beat at medium-high speed until very thick and pale yellow, 3 to 5 minutes.

In a medium saucepan, heat milk and whisk in egg-yolk mixture over low heat.  Stir constantly, until mixture has thickened enough to coat the back of a spoon.

Remove from heat and immediately stir in heavy cream.  Pass mixture through a strainer into a medium mixing bowl set in an ice bath until chilled, stirring from time to time.  Stir in vanilla, buttermilk, and juice from strawberries along with the mashed strawberries, then freeze in an ice-cream maker according to manufacturer’s instructions.  Five minutes before mixing is complete add the reserved strawberry slices and let mix in completely.  Transfer to plastic container to store.

strawberry freezer jam

All of my adult life I’ve been on the hunt for jam that tastes as good as what my mom made when I was growing up.  It’s been a pretty fruitless (no pun intended) search.  There’s a Polish brand of preserves that almost hits the mark, but doesn’t quite.  I’ve also tried many farmer’s market homemade jams over the years and while they are good and often involved multiple flavors in one jar (jalapeno-pear say, or blueberry-rhubarb), they tend to be on the expensive side and sometimes all you want is simple strawberry jam for your toast.

My mom has told me for years that it is super simple to make but until last week I had never once attempted.  How foolish I was!  Once again, should have listened to my mom earlier.  It’s one of the simplest things to put together and I have to admit I was kind of pumped picking up a pack of Ball jars for canning at the grocery store.  Made me feel all resourceful and stuff.

One thing that I wasn’t wild about in this recipe: the amount of sugar required.  I asked my mom if I could cut it down and she advised that you can skimp by about a 1/4 of a cup but don’t dare cut more than that or it won’t set properly.  I heeded her advice and the jam came out great.  Since a little goes a long ways and you don’t eat it by the cup-full the sugar isn’t such a big deal after all.  Now I just need to get my mom’s bread recipe and I’ll totally be in business.  Stay tuned…

Strawberry Freezer Jam (from Sure Jell packaging recipe)

  • 2 pints of strawberries, rinsed, hulled, and sliced in half
  • 4 cups sugar
  • 1 box Sure Jell fruit pectin
  • ¾ cup water

Crush strawberries with a potato masher or place in a food processor and pulse to finely chop.  Do not puree.  Jam should have chunks of fruit.

Measure crushed strawberries (you want 2 cups exactly, discard any excess fruit) into large bowl.  Pour 4 cups of sugar over strawberries and stir.  Let stand 10 minutes; stir occasionally.

Stir 1 box of pectin and ¾ cup water into small saucepan.  Bring to boil on high heat, stirring constantly.  Boil 1 minute, stirring constantly.  Remove from heat.

Stir pectin mixture into fruit mixture.  Stir constantly until sugar is completely dissolved and no longer grainy, about 3 minutes.

Pour into five 8 oz. plastic or glass jelly jars, leaving a ½-inch space at top for expansion during freezing; cover.

Let stand at room temperature 24 hours until set.  Refrigerate up to 3 weeks.  Otherwise, store in freezer for up to 1 year.  Thaw in refrigerator.