roasted spaghetti squash with parmesan and herbs

1.20.13 004

I love squash and cook with it frequently though had never ventured into spaghetti squash territory until a week or so ago.  I was more comfortable with butternut and acorn but will for sure be testing other varieties in the future.  It’s all so delicious!

1.20.13 009

First you roast the spaghetti squash for about an hour and a half and then let it cool before cutting it through the middle length-wise.

1.20.13 012

Then you scoop out the seeds and discard or roast if you are feeling so ambitious.

1.20.13 015

Next you take a fork to pull the squash out of the shell.  It comes out very easily in stringy spaghetti-like strands, in case you were confused about how it got its name.

1.20.13 022

This type of squash doesn’t have a whole lot of flavor on its own so it makes a great base for sauces and is a great pasta substitute for those who are gluten-free or trying to avoid wheat in general.  This particular recipe calls for very simple ingredients like shallots, garlic, rosemary, thyme, parsley and parmesan cheese.  It results in a very comforting and filling-in-a-satisfying-not-stuffed-way dish.

1.20.13 023

Spaghetti Squash with Parmesan and Herbs (from Everyday Foods magazine)

  • 2 1/2 tablespoons unsalted butter
  • 2 shallots, diced small
  • 2 garlic cloves, minced
  • 1 teaspoon chopped fresh thyme leaves
  • 3/4 teaspoon chopped fresh rosemary leaves
  • 6 cups Roasted Spaghetti Squash
  • 1/4 cup chopped fresh parsley
  • 2 tablespoons grated Parmesan
  •  Coarse salt and ground pepper

To roast squash: preheat oven to 375 degrees. With a small sharp knife, prick squash all over. Place on a rimmed baking sheet and roast until tender when pierced with knife, about 1 hour 20 minutes, flipping halfway through. When cool enough to handle, halve lengthwise and scoop out seeds. Scrape squash with a fork to remove flesh in long strands.

In a large nonstick skillet, melt butter over medium. Add shallots and garlic and cook until softened, 7 minutes. Stir in thyme and rosemary and cook until fragrant, 1 minute. Add squash and toss to combine. Cook until warmed through. Stir in parsley and Parmesan and season with salt and pepper.

potato and rutabaga gratin

Awhile back I bought myself a mandoline so that I could slice vegetables razor thin and do cool stuff with them but the kitchen tool had gone unused until I busted it out at Thanksgiving to make a gratin.

11.22.12 190

In addition to using to using the mandoline for the first time this was also the first time I’d ever done anything with rutabaga.  I love working with foods that are new to me!  Rutabagas are in the turnip family and paired beautifully with potatoes in this gratin.  In addition to the two root vegetables there was also garlic, red onion, fresh thyme, and of course the gratin staples of heavy cream, milk, and cheese– in this case Gruyère.  Several people remarked that it was their favorite dish of the day and one of those people may have been me.

11.22.12 058

This weekend I plan to do a little Christmas cookie baking so stay tuned next week for ideas for your own holiday baking!

Potato and Rutabaga Gratin (recipe found at www.saveur.com)

  • 4 tbsp. unsalted butter
  • 2 tbsp. olive oil
  • 4 cloves garlic, finely chopped
  • 1 medium red onion, thinly sliced
  • ¼ cup flour
  • 2 cups milk
  • 1 cup heavy cream
  • 1 lb. russet potatoes, peeled and very thinly sliced
  • 1 lb. rutabagas, peeled and very thinly sliced
  • 1 tbsp. minced thyme leaves
  • 2 cups (about 4 oz.) grated Gruyére cheese
  • Kosher salt and freshly ground black pepper, to taste

Heat oven to 425°. Heat butter and oil in a 6-qt. saucepan over medium-high heat; add garlic and onion, and cook, stirring often, until soft, about 6 minutes. Stir in flour, and cook until smooth, about 1 minute. Add milk and cream, and stir until smooth. Add potatoes, rutabagas, and 2 tsp. thyme, and bring mixture to a boil; cook, stirring often, until vegetables are slightly tender and broken apart, about 5 minutes. Stir in half the cheese and salt and pepper, and then transfer to a 9″ × 13″ baking dish; top with remaining cheese and bake until golden brown and bubbling, about 25 minutes. Sprinkle with remaining thyme before serving.

butternut squash and chickpea stew

If you are entertaining guests this holiday season who have food allergies or other dietary restrictions this stew could be a great thing to whip up to accommodate them but is also good enough for all to enjoy.  There is no wheat, dairy, or meat which seem to be the main three things that people are allergic to or just avoid altogether.  (While I respect the vegetarian diet and often choose/prepare meatless options for myself I like bacon way too much to ever give up meat.  But I digress.)

This stew starts with toasting some fragrant spices on your stove.  After they are properly toasted you grind them up in a spice mill/coffee grinder or go old-school with a mortar and pestle and smoosh them to a fine pulp using a little elbow grease.  Then you mix those spices with a little olive oil, lemon juice, cayenne pepper, and crushed garlic.  This is called Harissa and it will bring a whole lot of flavor to whatever you’ve got going on in your kitchen.

Butternut squash gets peeled and chopped into small pieces and roasted in the oven.  There are onions, more garlic, chickpeas, canned tomatoes, carrots and parsley.  They all combine together to make a great fall stew that is hearty and comforting and filling and a bit spicy.

This is total guilt-free food, as a friend of mine would say.  You can eat as much as you like and know that you are putting good stuff (mostly vegetables!) into your body.  And better yet, your gluten-free sister and your vegan cousin along your meat-loving uncle can all enjoy it.  Together.

Chickpea and Butternut Squash Stew (from www.marthastewart.com)

  • 1 medium butternut squash, cut into 1 ½-inch irregularly shaped pieces (about 6 cups)
  • 3 tablespoons extra-virgin olive oil
  • Sea salt
  • Freshly ground black pepper
  • 2 medium onions, chopped (about 2 ½ cups)
  • 8 large cloves garlic, finely chopped
  • ¼ cup finely chopped flat-leaf parsley stems
  • 1 ½ teaspoons ground cumin
  • 1 teaspoon paprika
  • 3 medium carrots, cut into ¾-inch cubes or irregular shapes
  • 2 ½ cups cooked chickpeas (either from dry beans or from two 15-ounce cans)
  • 1 can crushed tomatoes (28 ounces)
  • 4 teaspoons Harissa (see recipe below), or more to taste
  • ½ cup flat-leaf parsley leaves, roughly chopped

Preheat oven to 375 degrees. Place squash on a baking sheet lined with parchment. Drizzle with 1 ½ tablespoons olive oil and salt and pepper. Toss well and roast until golden brown, 45 to 50 minutes.

In a large skillet or pot, warm remaining 1 ½ tablespoons olive oil over medium-high heat. Add onions and a pinch each of salt and pepper. Cook for 3 to 4 minutes. Stir in garlic and cook for 3 minutes. Stir in parsley stems, cumin, and paprika, and cook for 1 minute. Add carrots and 1 cup chickpea cooking liquid (or water, if using canned chickpeas) to onion mixture. Bring to a boil over high heat. Reduce heat to low and simmer, covered, until carrots are tender, 10 to 12 minutes.

Add tomatoes and chickpeas. Raise heat to medium-high and simmer for 10 minutes. Stir in harissa paste, chopped parsley leaves, roasted squash, and remaining ½ cup chickpea cooking liquid (or water). Simmer, uncovered, until flavors meld, another 3 minutes. Season with salt and pepper to taste.

Harissa (from www.marthastewart.com)

  • 1 tablespoon whole cumin seeds
  • 1 tablespoon whole coriander seeds
  • 1 tablespoon whole caraway seeds
  • 1 teaspoon cayenne pepper
  • 1 clove garlic, crushed in garlic press
  • 2 tablespoons lemon juice (from 1/2 lemon)
  • Large pinch sea salt
  • ¼ cup extra-virgin olive oil

Warm a skillet over a medium flame. Add cumin, coriander, and caraway seeds. Toast, shaking pan, until seeds are fragrant, about 3 minutes. Grind in a spice grinder until fine.

Place ground spices in a bowl, and add cayenne, garlic, lemon juice, and salt. Stir in olive oil until smooth.

Cook’s Note: Harissa can be refrigerated in a sealed glass jar for 1 month.

braised cabbage, two ways

A while back, before the ground froze and things were still growing in these parts, a dear coworker shared her garden with me.  She gave me cherry tomatoes, green peppers, and a beautiful, ginormous head of cabbage.

I love cabbage but apart from making coleslaw a few times I haven’t really done much with it so decided to seek out a new way to prepare it and in the process could not decide between two different recipes in the same Mark Bittman cookbook so opted instead to make both.  Since the head of cabbage was so large I chopped it in half and had plenty to use with each recipe.

I braised the cabbage two ways, first with wine and nutmeg, and the next time with apples and cloves.  Both were very good but I think I prefer the wine and nutmeg method.  It had less ingredients so was a little simpler to prepare and also think it really complemented the flavor of the cabbage.  Of course if you are a person who likes savory and sweet together than the apples and cloves version is the way forward.  Just don’t pull the move that I did and think that if 3 cloves are good than 5 must be great because they for sure overpowered the dish… lesson learned!

Braised Cabbage with Wine and Nutmeg (from “How to Cook Everything” by Mark Bittman)

  • 2 tablespoons olive oil or butter
  • 1 head cabbage, preferably Savoy, about 1 ½ pounds, cored and shredded
  • Salt and freshly ground black pepper to taste
  • ½ cup white wine
  • 1 teaspoon brown sugar
  • ¼ teaspoon freshly grated nutmeg

Place the olive oil or butter in a large, deep skillet that can later be covered, over medium heat.  Add the cabbage and stir until it begins to brown, about 5 minutes.

Add salt and pepper, then the wine; let the wine bubble away for a few moments, then add the sugar and nutmeg.  Cover and simmer until tender, about 15 minutes.  Check the seasoning and serve.

Cabbage Cooked with Apples (from “How to Cook Everything” by Mark Bittman)

  • 2 tablespoons butter
  • 2 pounds Savoy or other cabbage, trimmed and shredded
  • 1 to 1 ½ pounds sweet apples, peeled, cored, and cut into chunks
  • 3 cloves
  • ½ cup chicken or vegetable stock, or not-too-dry white wine, apple cider, or water, plus more if needed
  • 2 tablespoons apricot or raspberry jam or currant jelly
  • Salt and freshly ground black pepper to taste
  • 1 tablespoon freshly squeezed lemon juice or cider vinegar

Melt the butter over medium heat in a large, deep skillet, saucepan, or casserole.  Add the cabbage, apples, and cloves and cook, stirring until the cabbage is glossy, about 3 minutes.

Add the liquid, turn the heat to medium-low, cover, and cook, stirring occasionally, for 30 minutes or more, until the cabbage is tender and the apples have fallen apart.  If the mixture dries out, add a little more liquid.

Stir in the jam or jelly and season with salt and pepper.  Add the lemon juice or vinegar a few drops at a time, tasting after each addition, until the sweetness of the cabbage and ales is balanced by a nice hint or acidity.  Discard cloves and serve.

the great pumpkin: puree and pepitas

This year I’m planning to make Thanksgiving dinner entirely from scratch– no cans, no prepackaged business, just 100% homemade– prepared from raw ingredients, with my own two hands. I know I can do it because last year I pretty much only opened one can (chili peppers to add a kick to corn pudding). I can totally get by without a can opener this year.

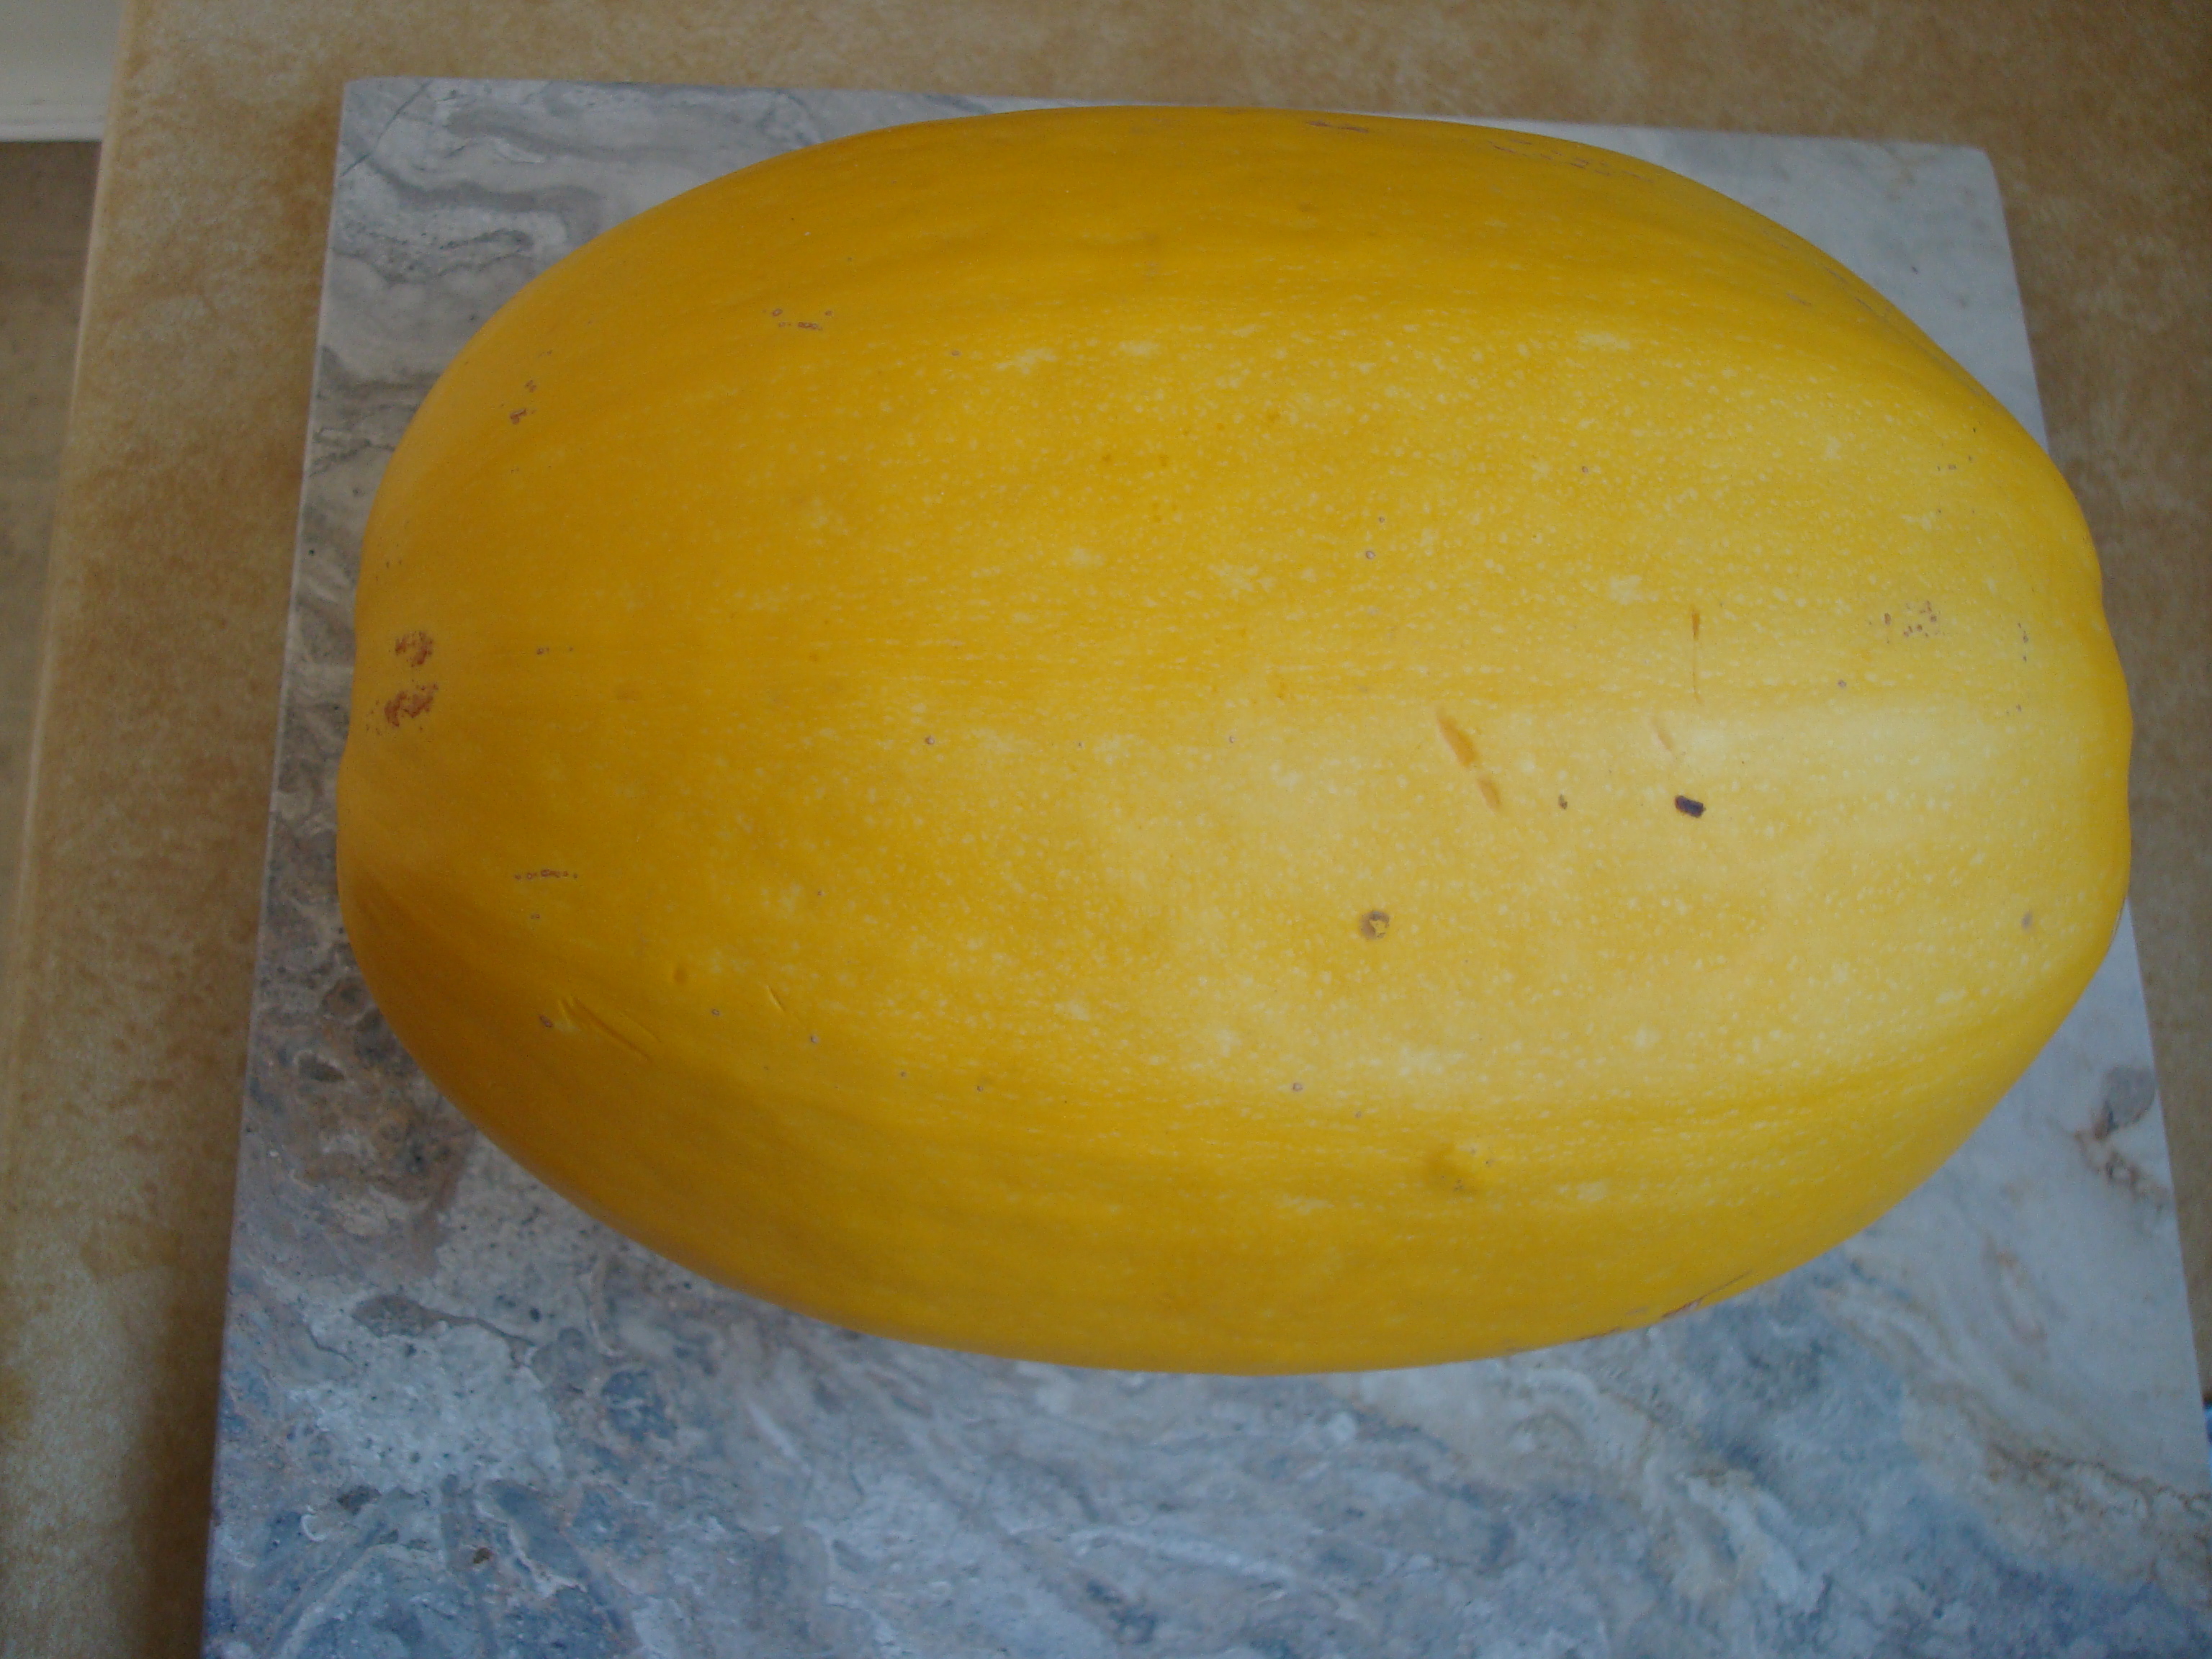
And since it’s pretty much a requirement that pumpkin make an appearance in at least one form or another during Thanksgiving (or in some cases it appears in multiple forms) I spent a little time this past weekend making my own pumpkin puree. It’s simple! All you need is a little bit of time and a good knife.

First you cut off the top of the pumpkin, and then slice it in half down the center. Next you scoop out the seeds (don’t throw them away though! We’re going to need them in a minute.) Then you cut the pumpkin halves in half and place on a baking sheet. Bake in the oven for about 45 minutes (mine were kind of large so it took closer to an hour). Then walk away and go catch up on your magazine reading or DVR shows while it bakes.

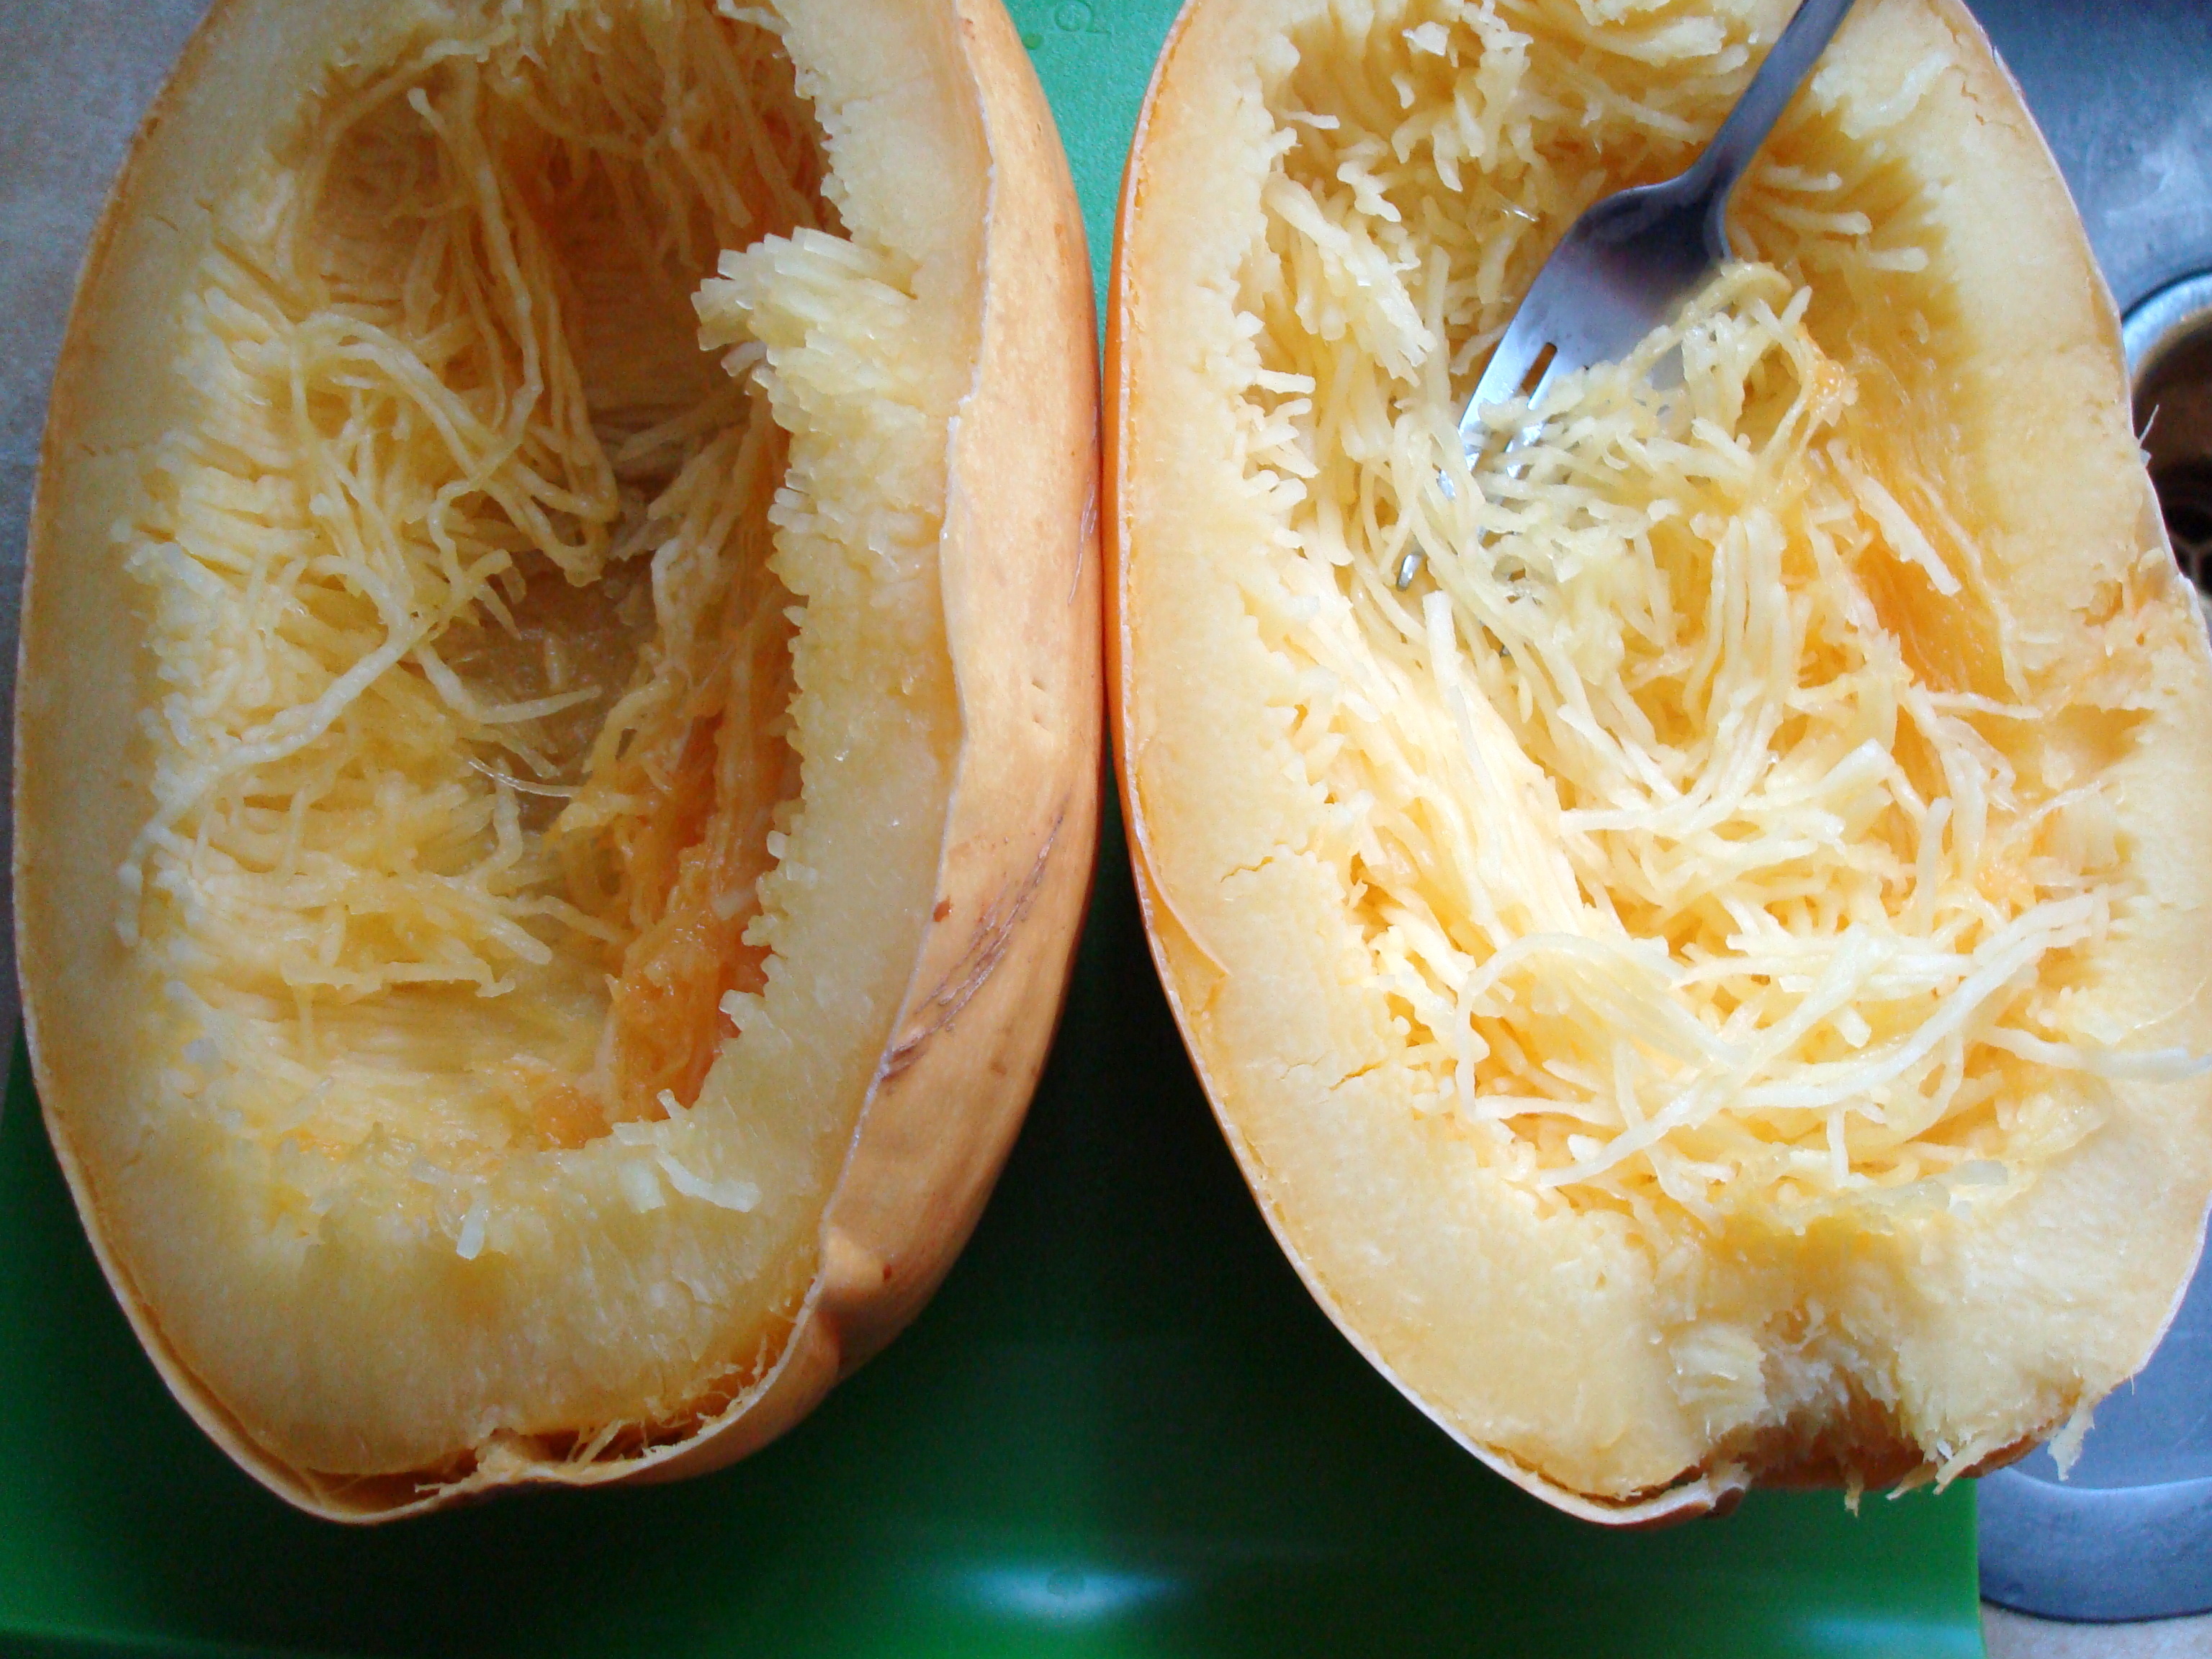
After the pumpkin has finished baking, let it cool until you can handle it and remove the pumpkin flesh from skin using a knife. Place pumpkin pieces in a food processor or use an immersion blender (regular blender with a little water also works as does a potato ricer or potato masher) and pulse until no large chunks remain.

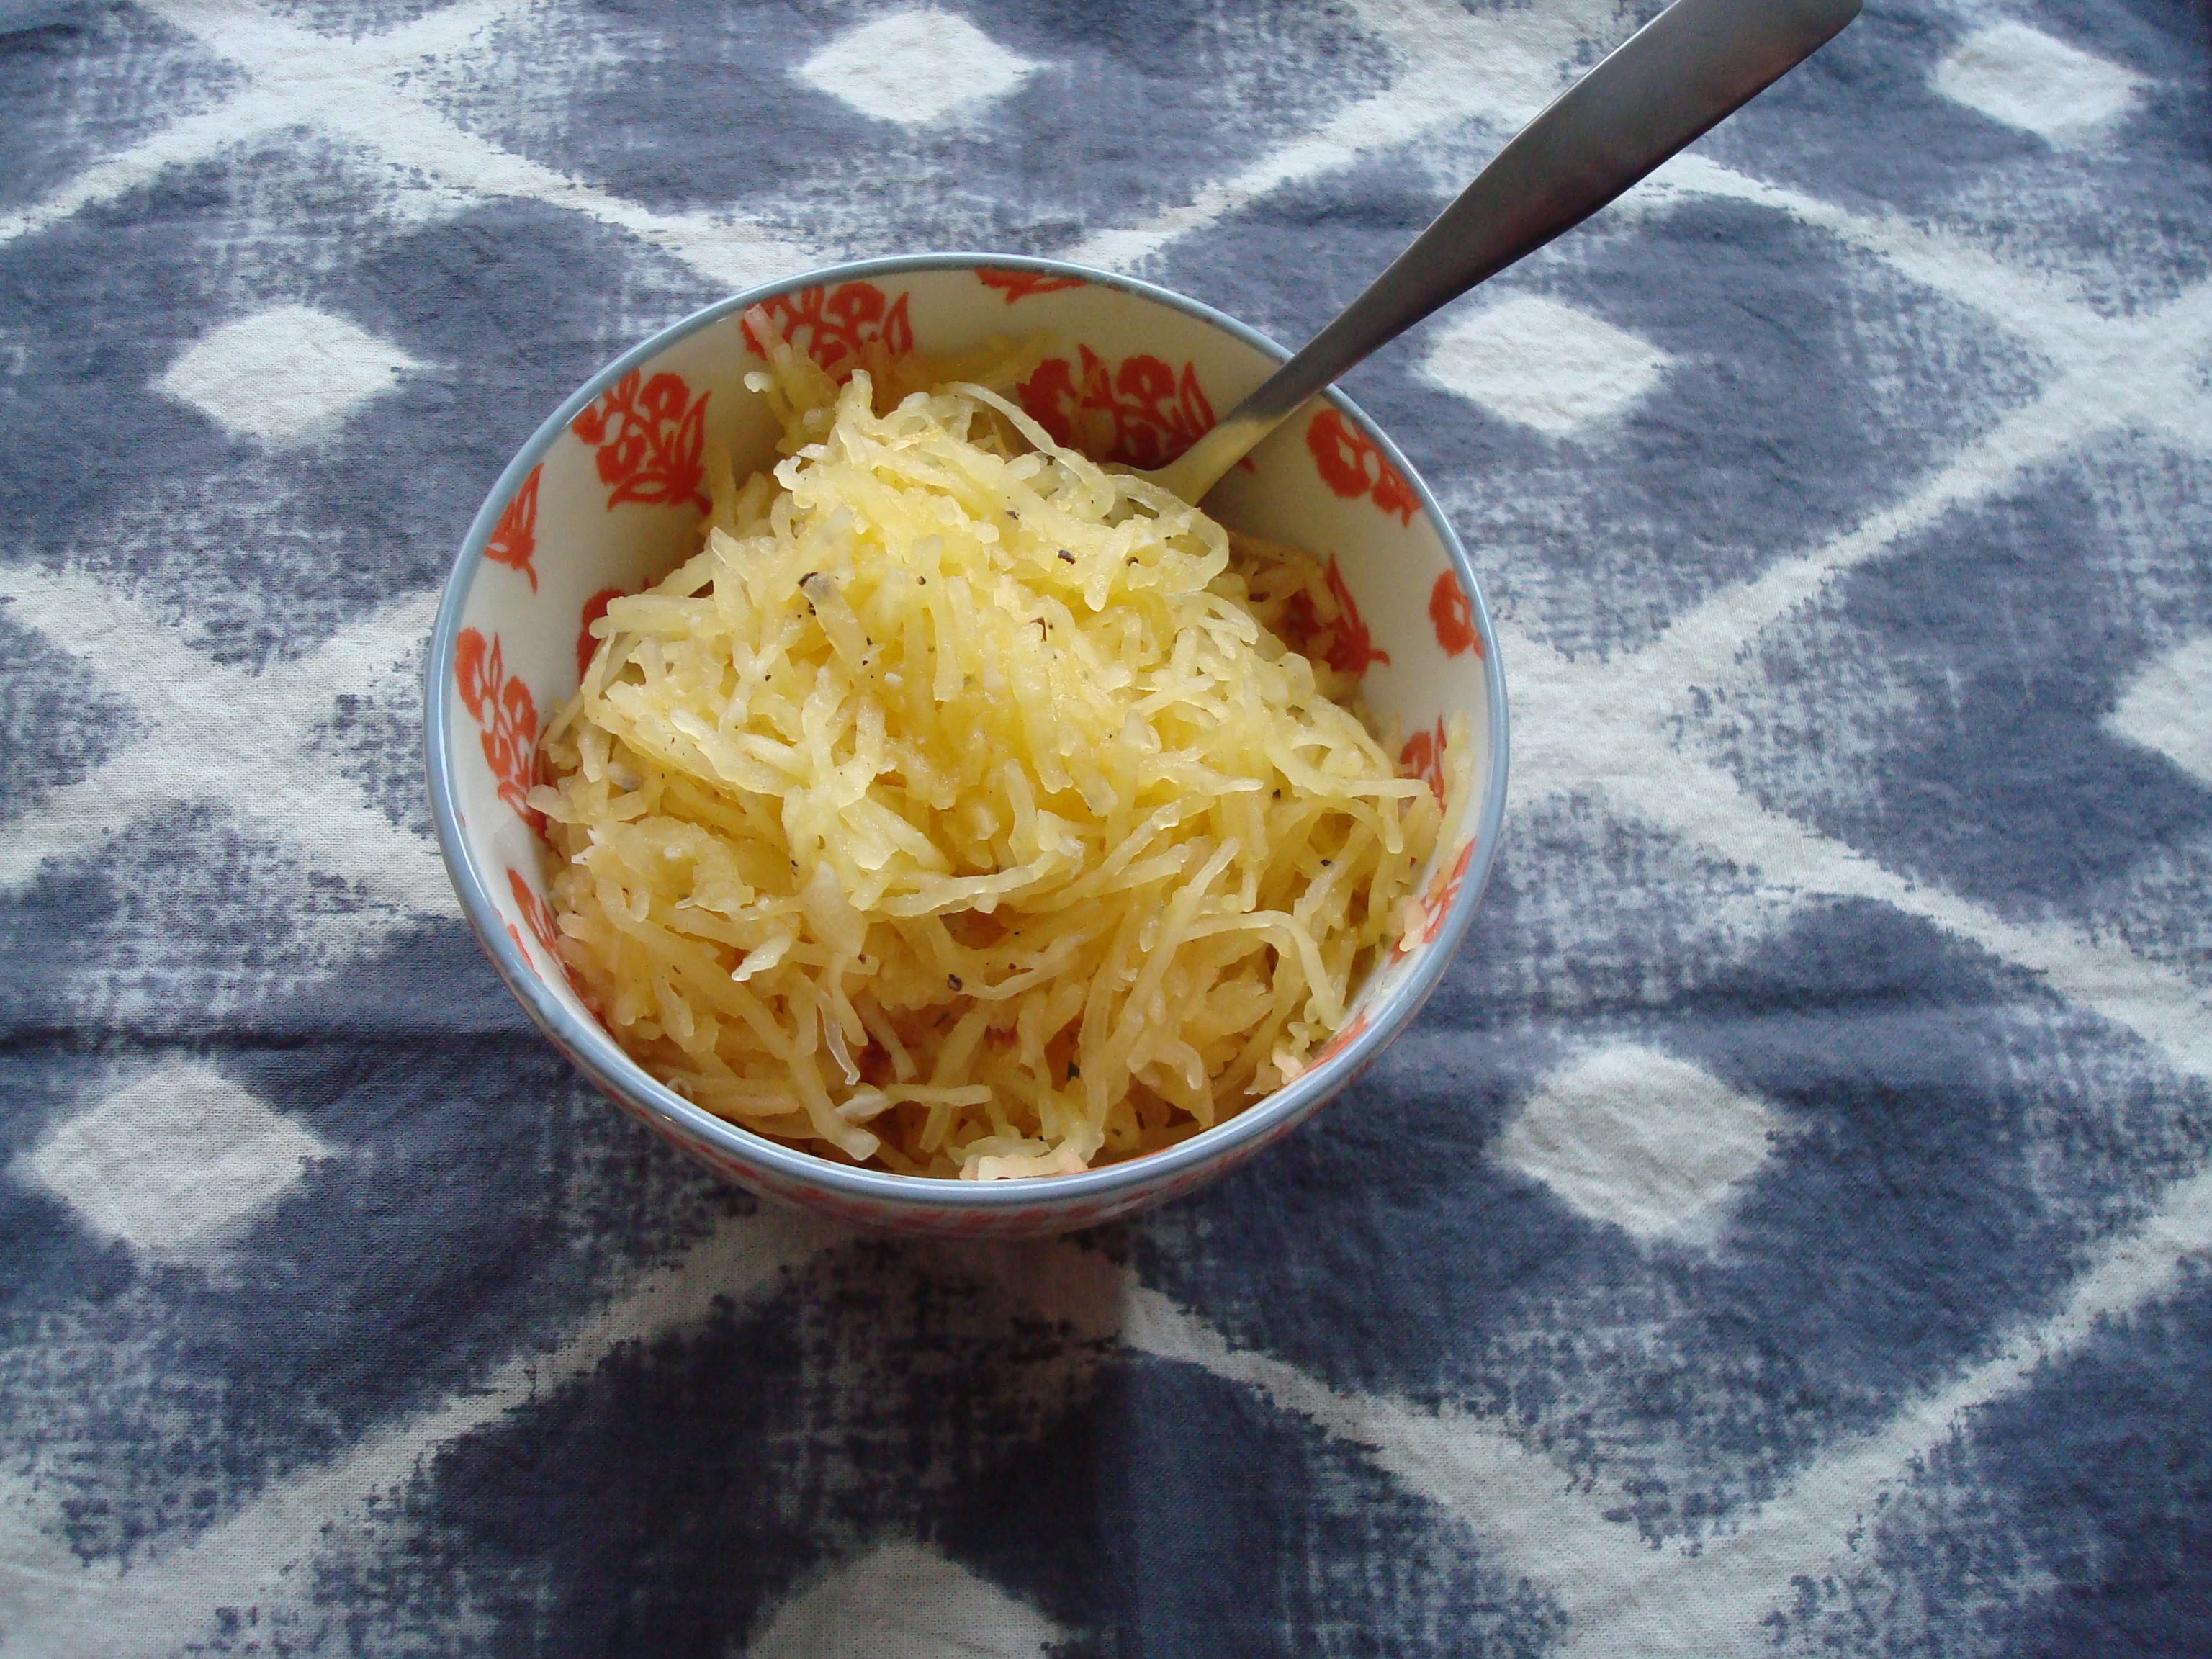
I then bagged it up in one-cup portions in small freezer bags so that I can use it whenever I want throughout the year. Two small pumpkins yields about 8 cups worth.

Now, the seeds! Rinse those beautiful things off to get as much stringy pumpkin removed as possible. Then spread out on a baking sheet to dry for several hours or overnight. (Word to the wise: do not attempt drying with paper towels as I did last year. Pumpkin seeds are very sticky and slimy and will stick to the paper towel like superglue. Not cool.)

Once the pumpkin seeds are dry, toss with a little olive oil and salt and any seasonings you so desire. (I’m a purist and keep it simple with just the olive oil and sea salt.) Then bake for about an hour until they are a nice toasty-shade of light brown and enjoy. Happy Halloween everyone!

Pumpkin Puree (from www.thepioneerwoman.com)

  • 2 whole small pumpkins

Select a couple of small-ish pumpkins. Cut the pumpkin in half. With a spoon or a scoop, scrape out the seeds and pulp from the center. You don’t have to be too thorough with this.

Place all the seeds into a bowl (you can roast them later and make pepitas—see recipe below). Repeat until all the pumpkin pieces are largely free of seeds and pulp.

Place pumpkin pieces on a baking sheet (face up or face down, does not matter) and roast in a 350-degree oven for 45 minutes, or until pumpkin is fork-tender. They should be nice and light golden brown when done.

Peel off the skin from the pumpkin pieces until you have a big pile of the stuff. If you have a food processor, throw in a few chunks at a time. A blender will work, too, if you add a little water. Or you can simply mash it up with a potato masher, or move it through a potato ricer, or process it through a food mill. Or you can use an immersion blender if you have one of those.

Pulse the pumpkin until smooth. If it looks too dry, add in a few tablespoons of water during the pulsing to give it the needed moisture. (Note, if the puree is overly watery, you should strain it on cheesecloth or over a fine mesh strainer to get rid of some of the liquid.)

Dump the pureed goodness into a bowl, and continue pureeing until all the pumpkin is done.

You can either use this immediately in whatever pumpkin recipe you’d like, store it in the freezer for later use.

To store in the freezer, spoon about 1 cupful of pumpkin into each plastic storage bag. Seal the bag with just a tiny bit of an opening remaining, then use your hands to flatten out the pumpkin inside the bag and push out the air. Store them in the freezer until you need them.

Toasted Pumpkin Seeds (Pepitas) (from www.thepioneerwoman.com)

  • 1 whole pumpkin, gutted
  • Olive oil
  • Salt
  • Any seasonings you want, such as cayenne, curry powder, etc. (optional)

As you gut the pumpkins, keep all the seeds—and guts—in a bowl. Throw them into a colander and rinse them under cold water, pulling away the chunks of pulp as you go.

Spread the rinsed seeds out on a baking sheet and allow the seeds to dry several hours or overnight. And beware: they’re quite sticky/slimy, so don’t place them on paper towels! Just leave them on the baking sheet and they’ll be fine.

When they’re dry preheat the oven to 250 degrees.

Drizzle the seeds with a couple teaspoons of olive oil. Use your fingers to toss the seeds around to coat. Then salt and season the seeds to taste.

Bake them for an hour or so, until the seeds are light golden brown.

Pepitas need to be stored in an airtight container if they last beyond the first day.